In many ways, winter is my favorite season. Where I live now, much like the motherland of my youth, has a casually temperate winter, characterized by short, rainy days and only the occasional disruption of inclement weather. I find that the multitudinous ways in which winter suits me is an interesting reflection of who I am.
The rain comes only in the presence of clouds, which paint the sky every shade of my favorite color. Our proximity to the Arctic Circle (or, rather, our lack of proximity to the Equator) means that winter also brings fewer hours of sunlight, even on those days when the clouds abandon me to the blinding, merciless bath of solar radiation.
Like ghosts of the very breath of life, the evanescing trails of vapor that escape my mouth in cold weather is an aesthetic near to my heart. And winter allows me to not only experience this, but also to experience it in the relative solitude that occurs when the temperature drops low enough that the common rabble clear the streets of their fair-weather frivolity.
Hands stuffed in pockets. Strolling through a misting rain only marginally above freezing, while wisps of steam rush frantically from the heat of my bosom to be forever lost in the cold anonymous embrace of a winter’s day. I am as contented as a cat in a sun beam.
This project marks the last of the big projects I undertook before starting this blog. The idea that this blog may someday exist had already started to form unbidden in my mind, like some malformed homunculus. As such, I did manage to capture more pictures of this process than previous endeavors.
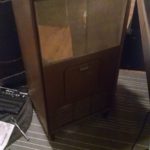
Most of the time, when I see something that piques my interest, there is a very obvious vision that occurs to me. This is an exception. Unlike an end table that needs refinishing, or a cabinet that can be salvaged and renewed, this was an oil furnace, which is not really an obvious candidate for anything else.
Nonetheless, when I saw the ad, I knew I had to have it. Like a boxy android from a low-budget ’70s sci-fi movie, the oil furnace had a certain charm and cuteness that I just couldn’t get out of my head. Assuming I could find some way to re-imagine it, I made arrangements to make it mine.
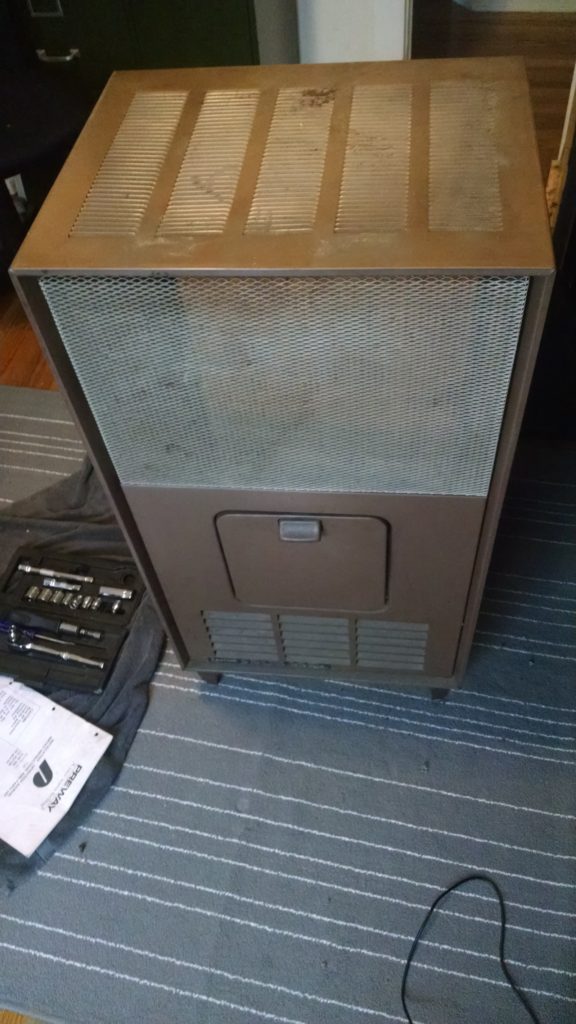
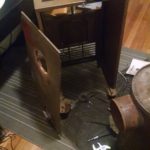
Like most people, I am guilty of the folly of thinking myself to be a pretty clever person. And yet, somehow, I never thought far enough along the path of this project to consider just how filthy this furnace would be, or how much it would reek of creosote and heating oil. My first order of business was to minimize this as quickly as possible, so I removed the back panel and gutted all of the heat-producing hardware inside.
After opening a window to vent the room, I spent the rest of the night and what spare time I had over the next two days cleaning. Eventually, I was able to get most of the reek contained and started to consider what this would ultimately become.
Taking into account the design of the furnace, I knew that I couldn’t readily turn it into storage. But, the grill and the door inspired me to consider turning it into a stereo console. The first thing I needed to tackle was a structural issue that hampered my vision.
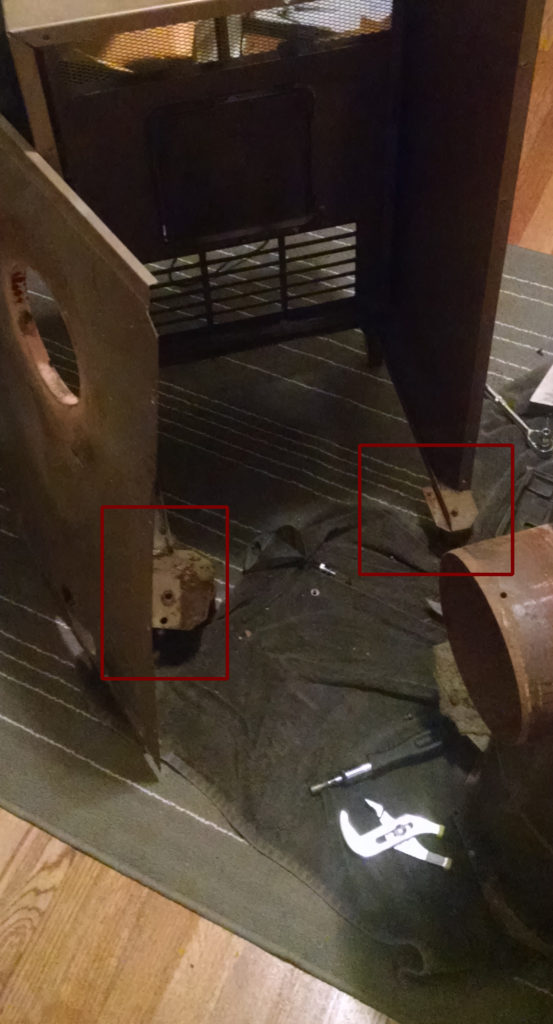
The original hardware had been mounted to plates that extended beyond the back of the unit, which was unnecessary and incongruous with my final concept, so I cut those off with a rotary tool. Since these were also the plates where the rear legs were mounted, this move required me to drill new holes in the side panels for the rear legs.
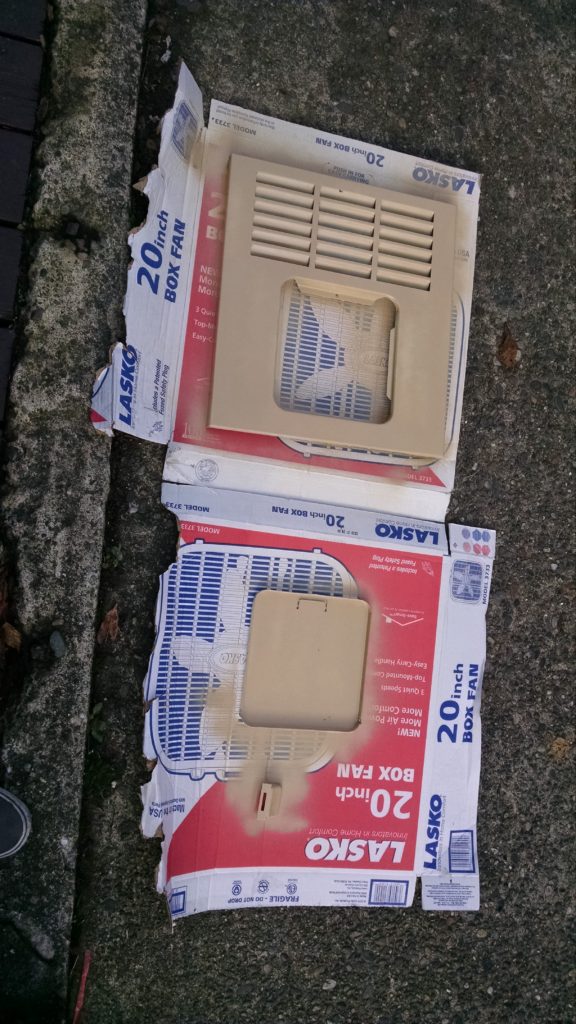
After a quick trip to the local home improvement store, I disassembled the shell and started working on the refinishing portion of the project. There were a few areas of rust that I scoured down before priming the entire shell, inside and out. As I had hoped, the smell of the paint did much to hide the smell of the furnace oil, so there was that small win.
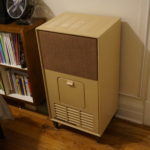
In between coats of paint, I focused on the grill of the furnace. Since I knew I would be converting the furnace into a stereo console, I decided to replicate a stereo speaker grill. Using the same fabric that I used on our refinished stereo console, and a lot of contact cement, I covered the heater grill, creating (what I hope is) a reasonable facsimile of a stereo grill.
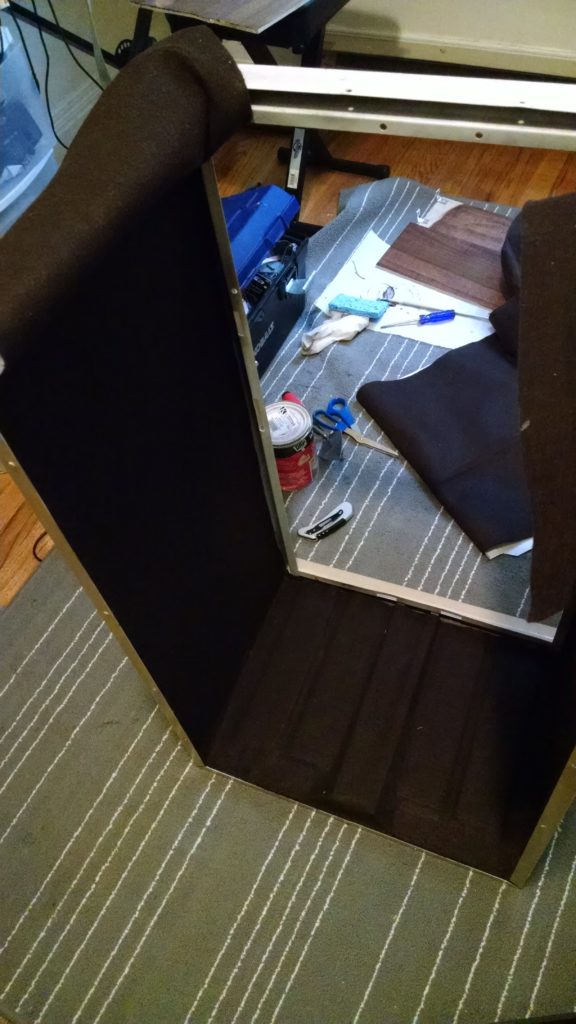
The more I worked with the shell, the more concerned I became for the final product. My biggest concern being that the entire shell is sheet metal. In addition to there being absolutely no internal structure to mount new hardware, it also had a tendency to make that distinct shimmy sound that metal makes as it vibrates. I did not want this to happen when the speakers were installed, so I crossed my fingers and glued a layer of felt along the entire inside of the shell. Not only did this almost entirely eliminate the vibrations, it also finally eliminated the last of the furnace smell.
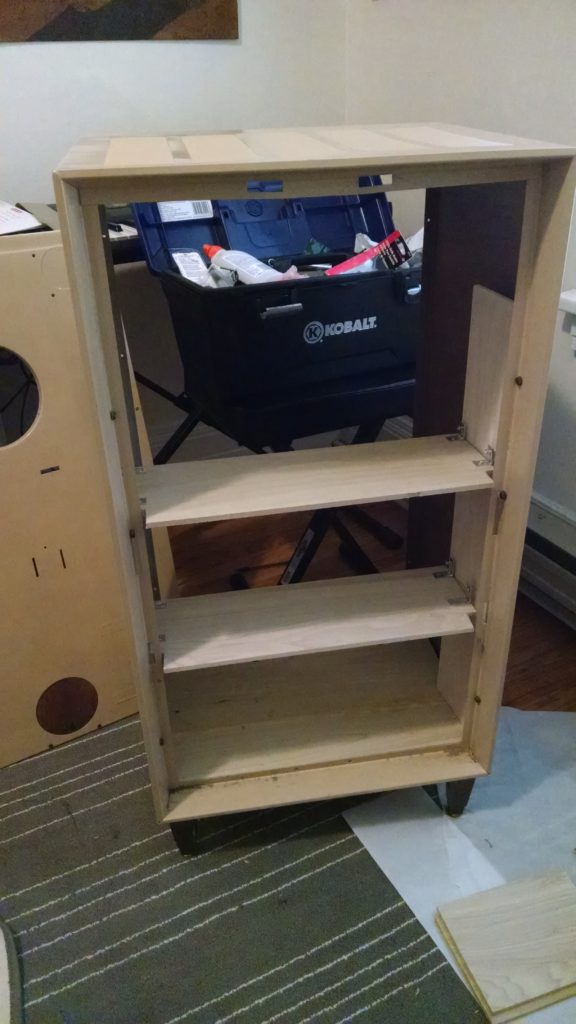
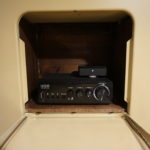
Having finished all of the aesthetics, and tamed the vibration shimmy, it was time to face the interior design. I knew that I wanted to use the door as an access hatch for whatever components were installed, but wasn’t quite sure how to pull that off. I had originally considered a design where I would take a set of standard computer speakers and rewire the knobs, mounting them on a panel inside the hatch. Fortunately, I found a better solution in a relatively inexpensive speaker set that had separate control console. So, the interior of the hatch needed only to be a simple cubbyhole for this control console.
Knowing this, I had to figure out how I would attach the shelves (also there was no floor, since that was all part of the original heater hardware). With the shell being made of rather flexible sheet metal, I knew I couldn’t glue the shelves in place, no matter what kind of glue I used. I didn’t want to ruin the outside by drilling holes through the side panels. After a bit of chin-scratching and poking about, I found that I could slide the upright wood panels behind the lip of the shell. These would be secured into place when the front pieces of the furnace were reattached, using the same screws.
After this stroke of luck, it became a matter of measuring, cutting, accommodating for my inability to measure and/or cut and affixing by any means necessary.
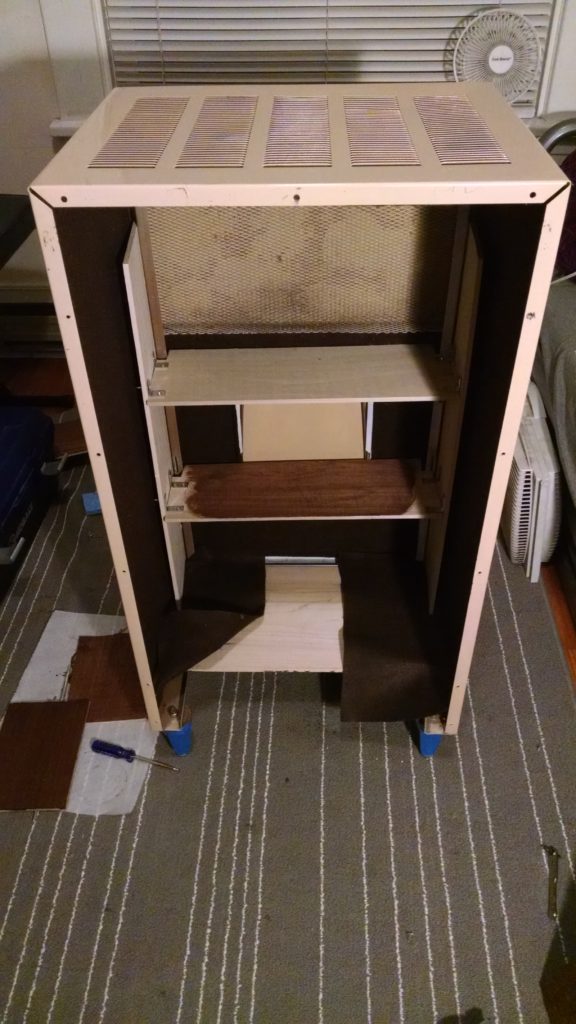
The upright panels were secured with the screws that attach the front panels of the furnace and angle brackets were used to attach the shelves to these panels. This seemed simple enough, but once I started building out the walls for the cubbyhole, things got complicated…
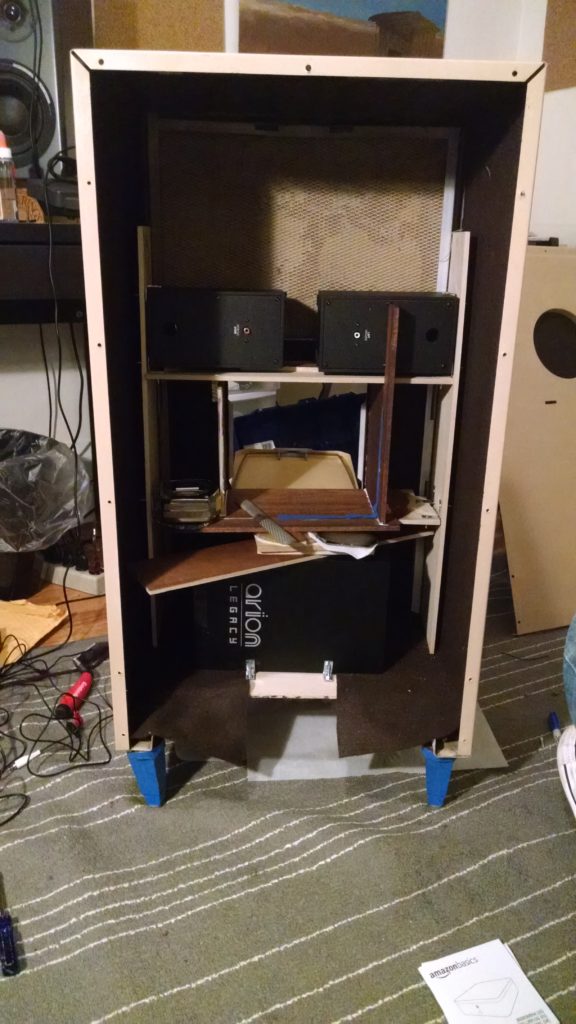
Using more angle brackets, I mounted the sub-woofer to the new floor and the stereo speakers to the top side of the ceiling piece of the cubbyhole. I reinforced this with some Liquid Nails, to make sure they didn’t shift around when moving the console. I also found myself trying to build the walls of the cubbyhole without thoroughly considering how they would be attached. In the end, I went with a questionable tactic of applying Liquid Nails to ends of both pieces of wood to be joined, then using tape to hold them together until the glue dried. I repeated this until I had all five walls of the cubbyhole built out to my satisfaction.
I then used an entire 4 oz tube in the course of reinforcing every joint with glue.
In addition to the speaker system, I also picked up an inexpensive Bluetooth receiver. Both of these are plugged into a multi-outlet extension cord that is fed through a wood panel that was cut to cover one of the original vent holes in the back panel. The other vent hole was covered on the inside with more felt.
The Bluetooth received is wired to the speakers, so that you can stream directly to the console from any enabled device. The speakers also have microphone and device inputs, so you can plug in anything with an 1/8″ stereo plug, or USB device. You can also use the USB plug to charge a device.
I consider this to be my most ambitious project to date. Not necessarily because of the amount of work that was put into it (there are definitely other projects which required more work), but because of the amount of faith it took to trust that this reeking, tossed-away relic could be reborn into something functional and modern. I feel very rewarded that the end result proved my faith was not misplaced.
Supplies:
- Antique Preway oil furnace
- Zinsser Bulls Eye primer
- Rust-Oleum tan-colored spray paint
- Varathane Carrington wood stain
- Daly’s Seafin Teak Oil
- Liquid Nails
- Amazon Basics Bluetooth receiver
- Arion Legacy Deep Sonar 300 computer speakers

