Previously, on The Over/Under… The team pulled together and surmounted all of the obstacles presented by the project and could finally see the light at the end of the tunnel. Sprinting towards it, they began to wonder if it was daylight, or the headlight of an oncoming train…
And now, the climactic conclusion to The Over/Under!
Once the project gets to this point, things start to slow down a bit. Without the benefit of a paint booth, or even a sunny afternoon outdoors, all of my staining, painting and clear coating is done indoors, in a room closed off to help contain the fumes and minimize the effect on the rest of the household. While this occasionally results in some fantastic fume-inspired hallucinations, it does require a very slow and methodical pace.
Day 4 involved staining the bottom of the box and applying another coat of green paint on the interior. It took almost as long to tape off the wood on the edge than it did to paint, but safety at this stage is paramount. All of this work needed ample time to dry, so I opened a window, turned on a fan, closed the door and left it alone for the rest of the day.
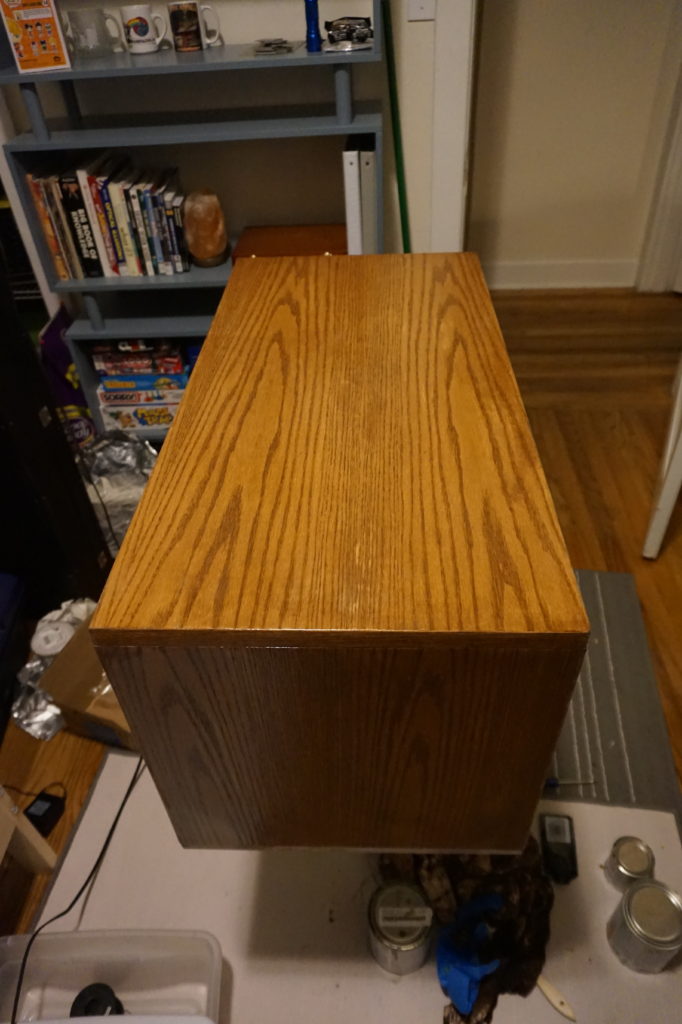
Day 5 brought about the moment of truth: the first coat of polyurethane. This is typically where you get the first real look at how the wood has taken the stain and how it will look when it is finished. We chose a satin finish polyurethane this time, instead of my standard semi-gloss. I was still dealing with the veneer sucking moisture out of the air (and, quite possibly, out of the particle board, since it had been outdoors for several months, if not longer), so the grain was swollen and the glue was pulling away in places. I decided to hold off on dealing with this and got a solid first coat on, before buttoning-down the room for another night.
On Day 6, I discovered a few runs in the polyurethane that put me in sad faces. Using 220 grit sandpaper, I smoothed out the roughness off the finish and tried to gently sand out the runs, but ended up over-sanding a few places. This resulted in taking out some of the stain and creating a few light spots in the finish. There isn’t really much to do for it at that point, so I proceeded with the second coat.
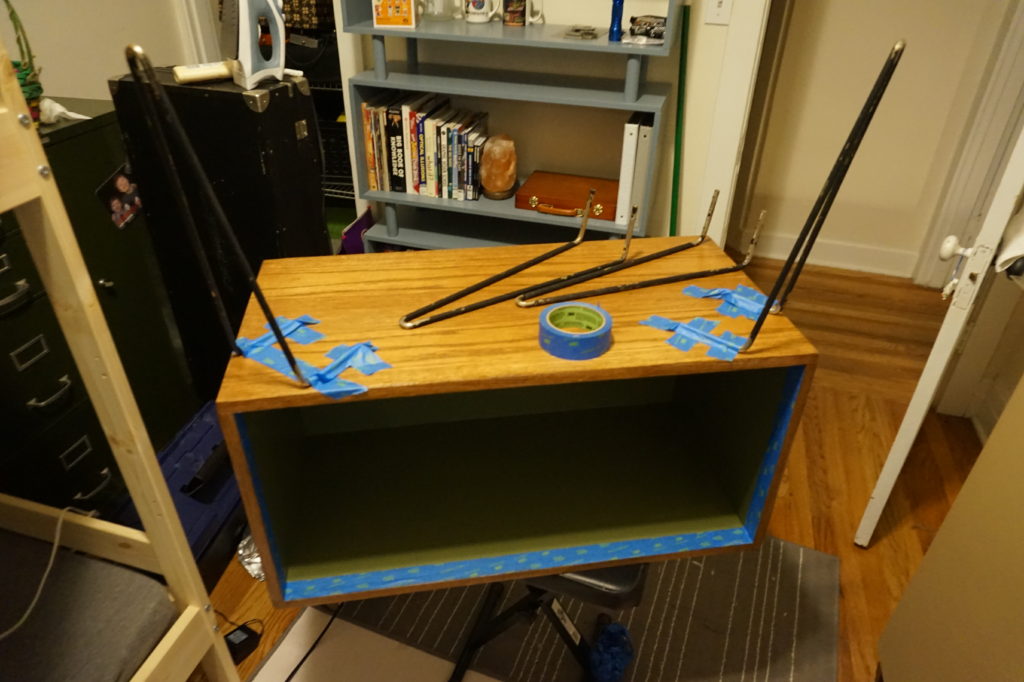
Finally, we get to Day 7 – the day of finishing touches. The second coat had evened out most of the runs from the first coat, so I knocked out the grittiness with some steel wool, and then flipped it over to consider the hairpin legs. Now, I am absolutely comfortable going on record stating that I love the aesthetics of the hairpin leg. It’s cute and dainty; modern yet classic. I am also absolutely comfortable going on record stating that installing them is a huge pain in the neck.
I’ve seen modern production hairpin legs that are mounted on an angled bracket, so that the base is a consistent size and shape. Vintage legs lack this seemingly obvious feature. The legs salvaged from the original Over/Under were all bent slightly at different angles, with different base widths, making it impossible to easily measure from the edges of the box to install the legs for a consistent location and look.
To work around this, I took two of the legs with bases that were similar in width and taped them down into place, making adjustments as necessary, until they looked visually appealing. Once this was done, I drilled pilot holes for the mounting screws and then removed the tape. I had wanted to use the original screws that I had removed when we first picked up the unit, but they were in such bad shape that I opted to use some new drywall screws that I had in the apartment.
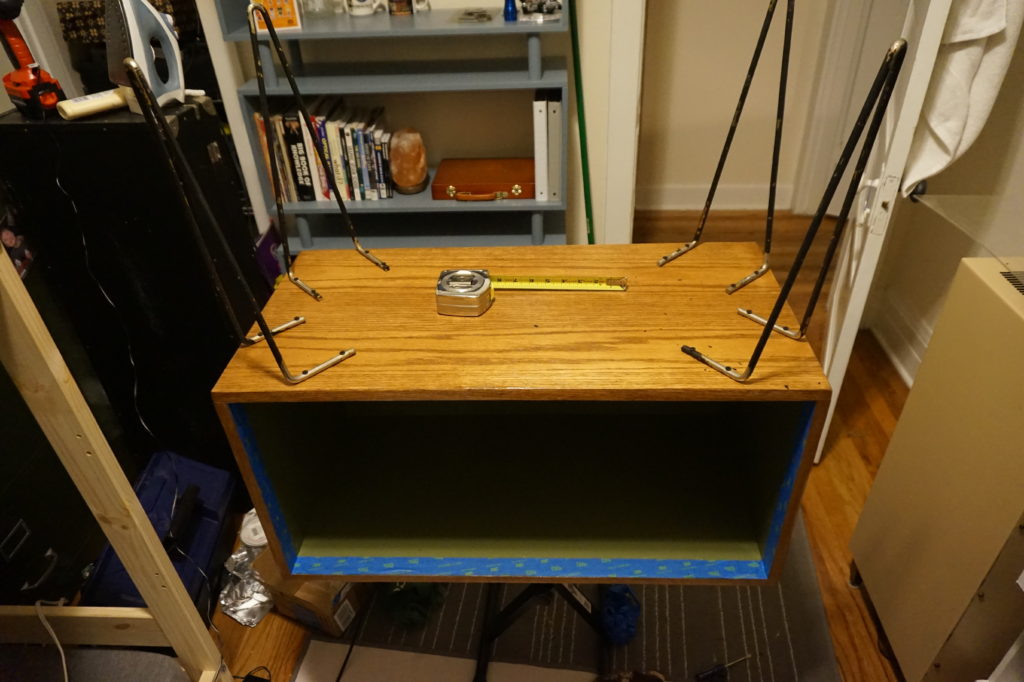
Once I got the first leg mounted, I used it as a template and bent all the other legs so that they had the same base width. After mounting the second leg, I could measure how far back from each edge both legs were located and verified that they were almost the same. I felt confident enough with the measurements after that to mount the remaining legs using math and science, instead of eyeballs and gut feelings.
Legs in place, I flipped it back over and spent a few minutes with aluminum foil and the clothes iron, running over everything one more time to flatten out the grain and make sure the glue was good and set. Finally, I put a touch-up coat of polyurethane on the top and touched up some of the green paint on the interior. There was nothing left then but to let it dry and admire my work.
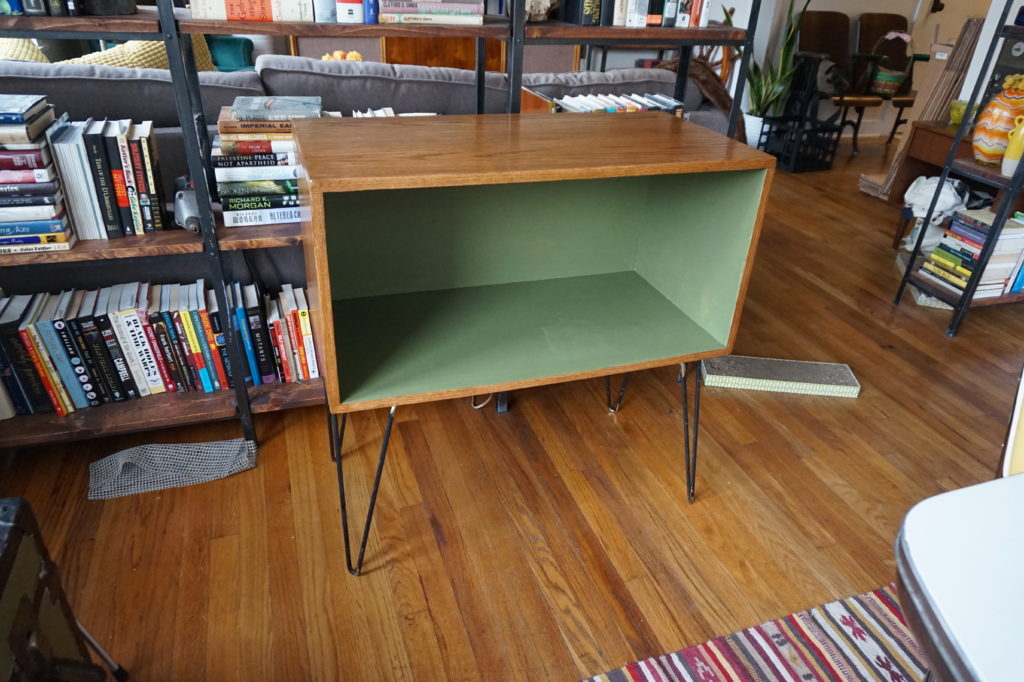
It is definitely a transformed piece of furniture. I don’t think anyone would ever confuse the finished product with the beat-up porch troll that it once was. That being said, I’m not entirely happy with the end result. It is a flawed piece of furniture, but hopefully something that will last many years to come, instead of rotting in a landfill as a testament to our ephemeral lifestyles.
Supplies:
- Plain sliced red oak wood veneer
- Varathane Early American wood stain
- Band-It red oak veneer edging
- Varathane Ultimate satin finish polyurethane (not the spray)
- Olympic Assure Toy Tank Green semi-gloss paint
- Sandpaper
