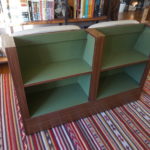
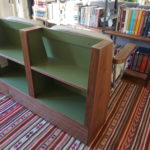
Like many people born into the modern world, where the plights of starvation, predation and want-of-shelter rarely, if ever, enter our minds as legitimate concerns, my youth was marked by the healthy vagaries of unfettered abandon. These flights of fancy were meant to placate the dull banality of daily life, allowing me to obsess on a constantly-shifting and ever-evolving series of life goals that saw me becoming an astronaut, or an underwater treasure hunter, or a secret-ops spy, or a comic book artist or a rock star.
As I got older and the slow churn of reality began scraping away at the edges of fantasy, these dreams became tempered by a less enthusiastic and more “realistic” understanding of the world. One-by-one each fancy crashed and burned; victim to some newfound epiphany or hard-earned realization of the nature of life, until one morning I woke up to find myself a grown man with kids and a desk job, knuckle-dragging bleary-eyed from one unremarkable day to the next.
Imagination had all but fled, seeking new hosts with whom it might have more success flourishing and blossoming into astronauts or treasure hunters; artists or musicians. Desperate to reclaim some of the whimsy of youth, I clung with tenacity to dreams that one day I would write that novel or one day I would pick up an instrument again; only to watch a depressing string of those days come and go without change.
It was at this crossroad of relinquishing the ghost of a dream and accepting a new, far less fulfilling reality that the Mid Century Stereo Console entered my life and gave me a glimmer of hope that I had inadvertently discovered a new outlet for idle hands. But it wasn’t until I saw the Oil Furnace Stereo Console a year and a half later that I felt the real and true spark of inspiration.
It’s been a year since that filthy little beauty awakened something inside of me, and while there have been plenty of projects, this project is the first to inspire me to dream beyond what I could see with my eyes and consider a different reality of what could be.
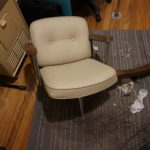
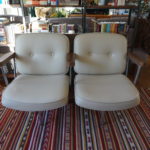
Another gift from the gods of free stuff, I’d been watching this set of salon chairs for a few days, debating whether or not to make the trip out to the fringes of the city (a drive just as likely to test my patience as my courage). It was big and it was odd but, like the oil furnace, I could sense it was destined for something more. If nothing else, I felt I could at least save it from the landfill. After pondering and considering for about a week, I finally committed to making the trip and rescuing this oddity from a premature grave.
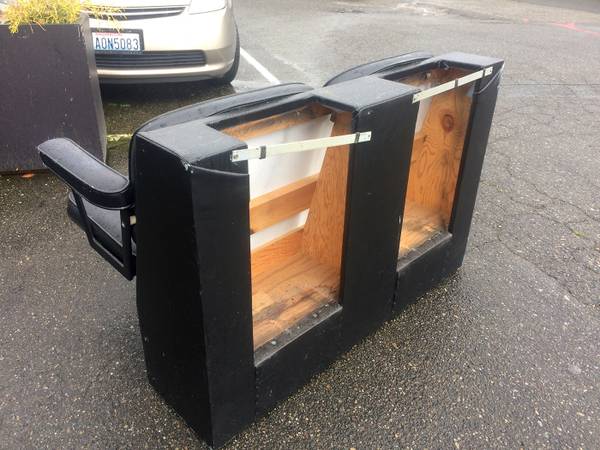
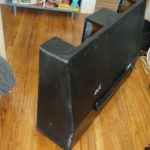
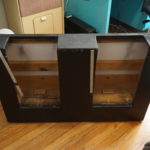
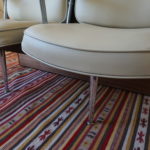
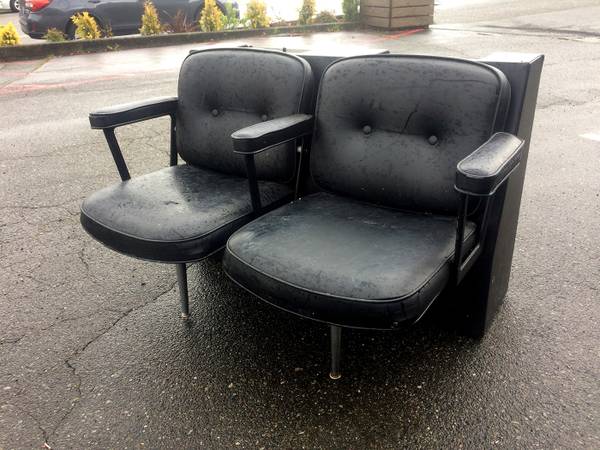 It immediately struck me as a challenging piece, clearly designed for giant over-the-head dryers you see at salons, but with all the equipment removed. With the cute little peg legs under the chairs, I had visions of converting it into an open-space love seat/bookcase.
The unit had to be craftily disassembled to fit in my tiny Toyota, but I was determined to make it work; and the previous owner was determined to help me so that he could be rid of it without a trip to the dump.
Fun fact: I actually acquired this back in June and was unable to unload it into my storage unit that day, so I left it in my car overnight, which I also left illegally parked in a construction zone overnight (don’t get me started on how long it took them to build that stupid apartment building) and promptly forgot about the next morning.
The following Saturday the missus and I were planning a road trip and I awoke with a start at 4AM, remembering what I had done, and dashed out to find my car gone. So, this enormous, hair-caked, vinyl-and-perm scented monstrosity was crammed into the back of my tiny car as it was towed through the city.
I was pretty embarrassed.
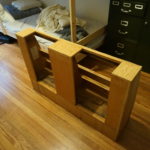
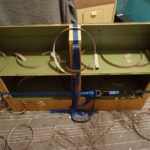
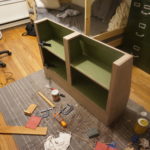
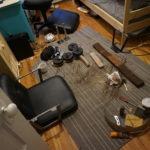
I had been putting this project off, because I knew it would be relatively extensive and take much longer than anything else I’ve worked on in a while, but I’m starting to run out of things in storage, so I decided it was time and brought home the rear section of the unit. My first order of business was to strip off the vinyl and get down to bare wood.
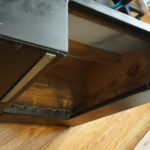
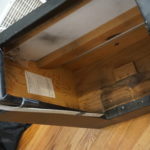
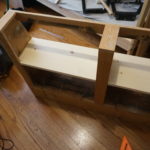
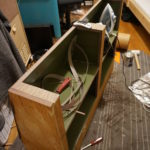
The vinyl was disgustingly stinky and covered with years of hair clippings, so I was only too happy to have it gone. Once I had the skeleton exposed, my next step was to cut away some of the frame and open up the back, to make it more accommodating for storage. Not only did it turn out exactly how I imagined, I performed shockingly well cutting straight lines with a jigsaw.
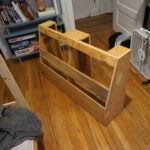
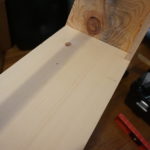
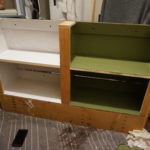
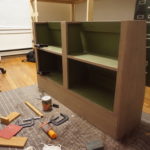
In order to make the back portion functional storage, I knew that I wanted to add a shelf. I had a few different ideas, but ultimately went with the one that was most complex, but also the one that I thought would look the best. This involved another series of odd cuts that I performed shockingly well (including having the rip an inch off the back of the entire length of the shelf – which I don’t think I could have ever pulled off successfully in the past).
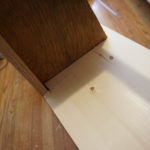
The idea I settled on allowed me to rest the back side of the shelf on one of the structural cross beams, which also allowed me to partially obscure that beam so that it isn’t as obvious in the finished product.
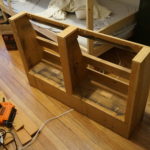
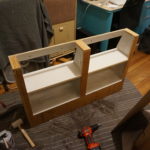
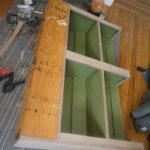
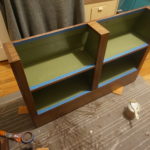
After cutting down a piece of 1/4″ underlayment and gluing that down to the back of the shelves, to help create a more finished appearance, everything was primed. Then I put down a first coat of the famous green paint (one of these days I swear I will run out of this stuff…).
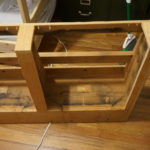
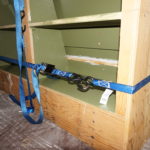
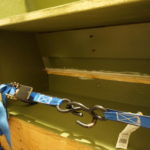
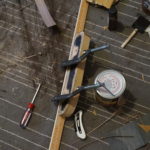
I wasn’t happy with the inside and wanted a slightly more finished edge where the bottom structural cross piece met the new back panel, so I glued in a piece of quarter round with some Liquid Nails. Ratchet and pull straps were used to keep everything nice and snug while the glue dried.
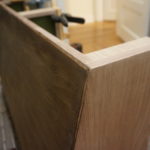
I decided to try mixing things up a bit for this project and went with walnut veneer instead of my usual red oak. After the green paint was dry, I started gluing down the veneer. For some reason, I had terrible luck getting the veneer glued down with this project. As I worked around the shelves, pieces that had been fine started to pull away and bubble up. I was able to mitigate a lot of this with some judicious application of heat, but some of it just would not go away.
I’m beginning to think that the amount of humidity in the apartment during the cold months is detrimental to applying veneer. The last time I ran into this problem with this level of frustration was last January when I was refinishing the Over/Under. As a result, I have invested in a small dehumidifier that I will be using for the remainder of the season, or whenever I need to work with veneer.
In any regard, the spots that are left can be felt when you run your hand across the wood, but can’t really be seen unless you’re actively looking for them. I’m struggling to accept this as good enough. For now. (Don’t be surprised if this gets updated at some point because the imperfection is driving me nuts. NUTS I TELL YOU. See below.)
The piece of underlayment got sanded and the edges shaped a bit before a coat of walnut stain, which actually doesn’t look anything like walnut (as it turns out). But, it will be almost entirely covered by the seats eventually, so it only needs to mostly match.
Several hand-rubbed coats of polyurethane finished off the shelves so that I could turn my attention to the most daunting element of this project: the chairs.
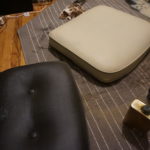
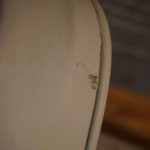
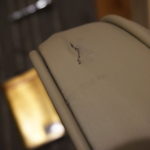
The cushions themselves were not in bad condition. There were a few small nicks and one small tear, but overall in great shape for their age and the use they’ve seen. The biggest concern was the color, which was black, but not originally black. They had been painted black and bleeding through the black was what appeared to be a white and blue floral pattern. Neither of these aligned with my vision for the project, so I had to ponder my options.
I took one of the seats apart and carried the cushions to a local upholsterer to get a quote on getting them recovered. I walked in and set the cushions on the counter and the owner, without even getting up from his desk, asked “Whatcha got there, salon chairs?” I was pretty impressed by this, since I would never have guessed where they came from had I not seen it with my own eyes.
Then we started talking about price… In the end, the cheapest option for recovering the cushions was a little shy of $450, which was WAY outside of my expectations and budget for the project. I wasn’t planning to keep this piece, and I knew there was no way I would recover that expense if I sell it, so I went back home to ponder some more.
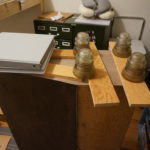
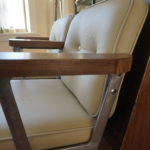
While pondering, I started working on the arm rests. Stripping the black paint off of the aluminum bars turned out to be one of the easiest paint stripping jobs I’ve ever encountered, which was a pleasant surprise. In my head I was imagining replacing the padded tops with solid walnut, but when I inspected them further, I saw that the tops bolted to the frames using tee nuts that were inserted into the wood. Discovering this, I figured there were three options available to me:
- Go with hardwood walnut tops and just screw them to the frames.
- Go with hardwood walnut tops and put in the time and effort to find and install wood insert nuts.
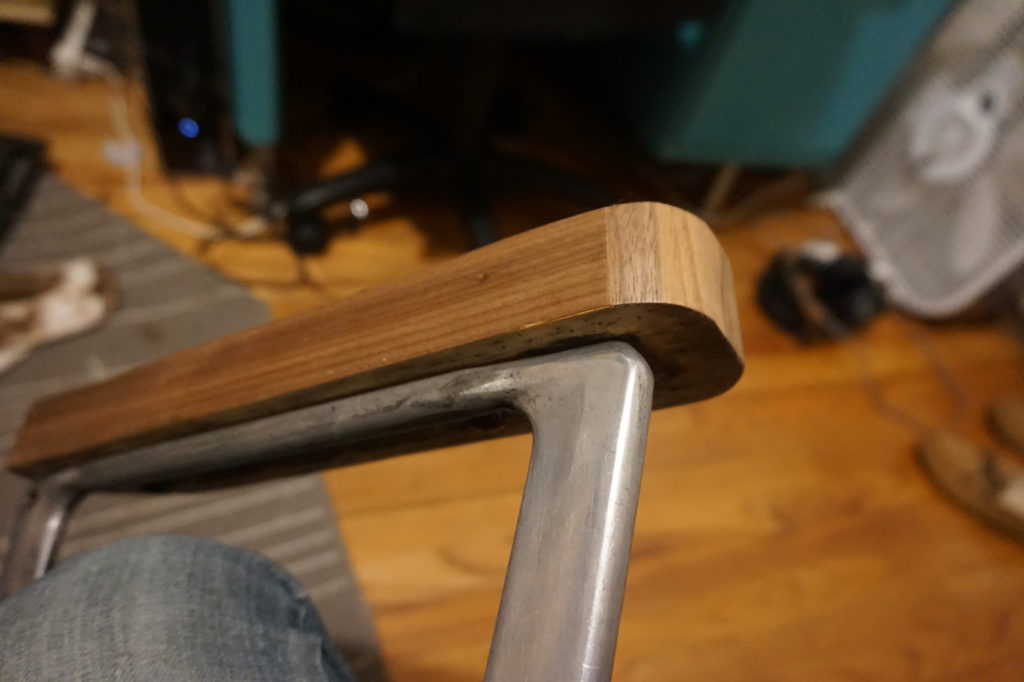
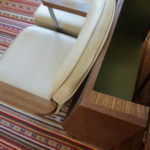
- Repurpose the existing tops and cover them with the same veneer used on the shelf side.
Option 1 struck me as cheap (somehow) and wouldn’t look like it belonged if anyone ever saw the screws. I felt that wouldn’t do the project justice. Option 2 is clearly the best option, from a craftsman’s point-of-view, but just using the hardwood was gamble enough with my limited experience and facilities, so I felt that trying to get the wood insert nuts installed correctly was too much of a gamble. So, I went with Option 3, which ultimately is more up my alley anyway, since it minimized waste.
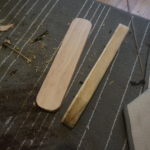
More so, waste was minimized because I was able to reuse some leftover scraps of the underlayment to cut new tops to replace the original padding. This gave me a bit more practice with the jigsaw and, like other cutting aspects of this project, turned out surprisingly well. I had to notch out the bottom with my Dremel so that they would sit flat on the tee nuts before glueing them down with Liquid Nails.
After they were glued in place, I shaped up the edges, again with my Dremel, and set about gathering up enough scraps of veneer to complete them.
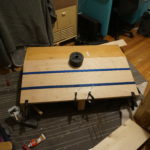
This is where I entered Frustration with Veneer Part 2 – The Frustrationing. I started with the top for the middle arm rest, which seemed like a neutral place to begin. I also started with the edge, rather than the top surface. Using a process of gluing, clamping, strapping and finger-crossing derived from trial and error, I managed to get the edge veneer glued down without much difficulty.
Until I realized that I had glued it on backwards and the seam, which was meant to be in the back, where it would never be seen, was actually at the front, where it would be super obvious. So, I had to pull it off, turn it around and reattach it. Fortunately, reattaching wasn’t terribly difficult, since it was already cut to size and in the correct shape.
After cutting and attaching the top, the middle arm rest was complete and I moved to one of the side arm rests. Initially, I started by wrapping the veneer in one direction around the edge of the top, just like I had done with the previous, but after several attempts and several different approaches, I simply could not get the veneer to wrap around the tight curve without breaking.
I had a moment of crisis while I fretted over what to do, before deciding to wrap the curves with the veneer grain running vertically, rather than horizontally, while running horizontal veneer on the straight edges. It meant that the side arm rests would look different than the one in the middle, but much less different than if I had to abandon the veneer edge altogether.
All this struggling with veneer and fretting the meaning of a life where wood can’t turn corners gave me ample time to make the decision that $450 was simply too much to spend on this project. The idea of painting the cushions didn’t seem feasible, because painting fabric just doesn’t strike me as a good long-term solution. But… The previous owner had clearly painted these cushions before and it had (mostly) stood up to commercial use in a salon. This was ample impetus to do some more investigating into vinyl paint options.
Ultimately I discovered a brand of spray paint recommended by people who refinish car interiors that was about 1/30 the cost of having the seats reupholstered – and that was a price point I was willing to try.
Honestly, I didn’t expect much success. I expected to try it out and find it either cheap-looking or flakey or in some way undesirable. I was blown away by how well it covered, how quickly it dried and how well it held up to the flexibility of the fabric. It smelled like someone mixed nail polish and nail polish remover and gasoline, and that smell lingered after I brought the cushions inside, but the seats turned out way better than I ever hoped. Not perfect, but nothing I touch ever is, so I’m willing to let that go.
Not wanting to invest too much in the spray paint upfront, in case it turned out to be a dud, I only ordered one can. This was enough for 2.5 of the 4 cushions, so I was able to get one entire seat finished before having to stop and order a second can.
While waiting for the second can, I spent some time touching up and finishing the arm rests. Then I decided that I had time to waste and an unquenchable desire to do something about the holes in the vinyl, so I picked up a vinyl repair kit and set about patching the holes.
Overall, my experience with the repair kit was not terribly impressive. Fortunately, I am painting over it, so it won’t appear as obvious as it would if I were trying to repair something that had no other damage, but the results were nothing nearly as seamless as advertised. In the end, though, the patches will be far less noticeable than the holes were, so I’m willing to live with it.
Speaking of living with things… Unlike most of my posts, which either occur completely after a project is done, or are spaced out as “live” updates over several posts, I decided to keep a running draft of this project that I updated over time before publishing. As such, this post has evolved over time as the project has evolved. Including my previously-made comments about trying to live with the bubbles in the veneer.
It was driving me nuts. I couldn’t even see it, the shelf unit being stashed out of the way while I worked on the seats, but the knowledge that the veneer was bubbly itched at the back of my brain, like a flea gnawing on my grey matter: frustratingly annoying and endlessly maddening. At a level that was barely conscious, my amygdala and prefrontal cortex were waging a war against one another. My reward center screaming “FIX IT AND BE HAPPY! REVEL IN THE JOY! IT WILL BE AWESOME!” against the fear of knowledge “NO! WE’VE BEEN DOWN THIS ROAD BEFORE! IF YOU MESS WITH IT, YOU WILL ONLY MAKE IT WORSE!”.
Some people live a life of wanton abandon. I prefer to live with calculated abandon (a conscientious hedonist, you might say), with near-full appreciation of the repercussions of my actions; always attempting to mitigate the disaster of my decisions. It was this guiding principle that directed me when deciding it was worth the risk of making it worse to try one more time to get the bubbles out of the veneer.
But, it worked. A little time, a lot of heat and some aggressive application of pressure-via-rolling-pin and I was able to flatten 95% of the bubbles. One or two adamantly refused flattening, stubbornly resisting the temptations of heat and pressure, but finally I arrived at a scenario that I could honestly and truly “live with”.
After the delivery of the second can of spray paint, it was a simple matter of hosing down the second set of cushions, and then starting the assembly process. I was having a little difficulty attaching the seats, but found that part of the problem was that I used the wrong bolts on a different section and had to swap those out. Then I used my drill saw to cut out around the bolt holes to allow room for the plastic spacers.
Then. Finally. This project was complete.
Supplies:
- ColorBond LVP Refinisher Spray Paint
- Zinsser Bulls Eye Primer
- Contact cement
- Liquid Nails
- Minwax Wipe-On Polyurethane
- Walnut veneer
- Plywood underlayment
- Mystical green paint

