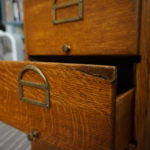
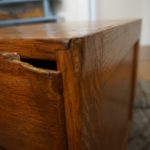
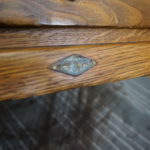
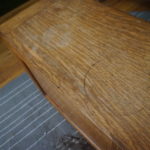
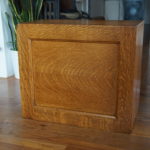
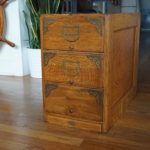
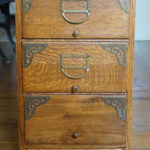
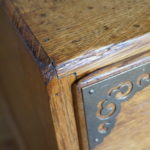
The last few weeks have been a little hectic, but I managed to squeeze in two quick refinishing projects. The bulk of my brain power has been siphoned off for other uses, so you will forgive me for skipping the musing this post and making with the pictures already.
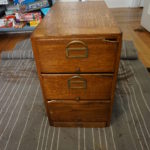
The first project was an adorable card catalog cabinet manufactured sometime between 1907 and the mid 1920s by the Browne-Morse Company. I did some research and found this interesting history of the company: Browne – Morse History at Muskegon Memories. The top, sides and faces of the top two drawers are all finished in beautiful tiger oak, which is what originally caught my eye. You don’t see enough tiger oak these days and it’s always a treat to find some on the cheap.
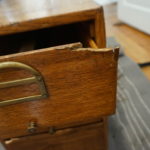
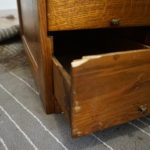
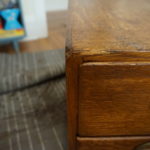
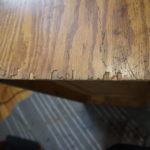
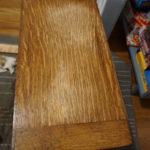
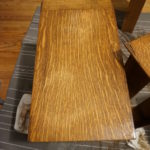
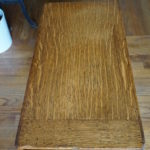
Clearly this card catalog has seen better days. All of the corners had taken serious beatings. There were stains and discolorations on the top (some heathen appears to have left a wet plant pot on it!). The back panel was chipped along the bottom and had become loose and structurally unsound.
The first thing I wanted to do was get rid of the black water marks, but I wanted to preserve the original finish and had no intentions of stripping this and refinishing it. So, I used some light steel wool and mineral spirits to buff out the marks. I was actually shocked that they came out completely. I was also dismayed that it took off way more finish than I intended.
It was around this point, as I was considering how to remedy the dry spots, that I started noticing drip marks in the finish and inspected the side panels a little further. It became evident that someone had glopped on a sloppy coat of something tinted, possibly something like Restor-A-Finish. I took this as an indication that the finish wasn’t original and therefore I had full rights to strip the entire piece.
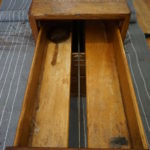
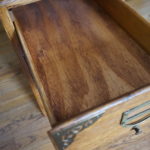
And so I did. In the end, you could still see light marks in the finish, but they look far more natural than the black rings, so I am okay with it. Next I noticed that the crossbeams/drawer stops between the drawers were missing. If you scroll back up to the pictures labelled “This one” and “And this one” you’ll see the gaps between the drawers where wood crossbeams had once resided (I told you it would make sense). These crossbeams have since moved on to some unknown realm, but fortunately I had some scrap plywood laying around that fit almost perfectly.
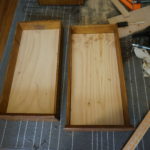
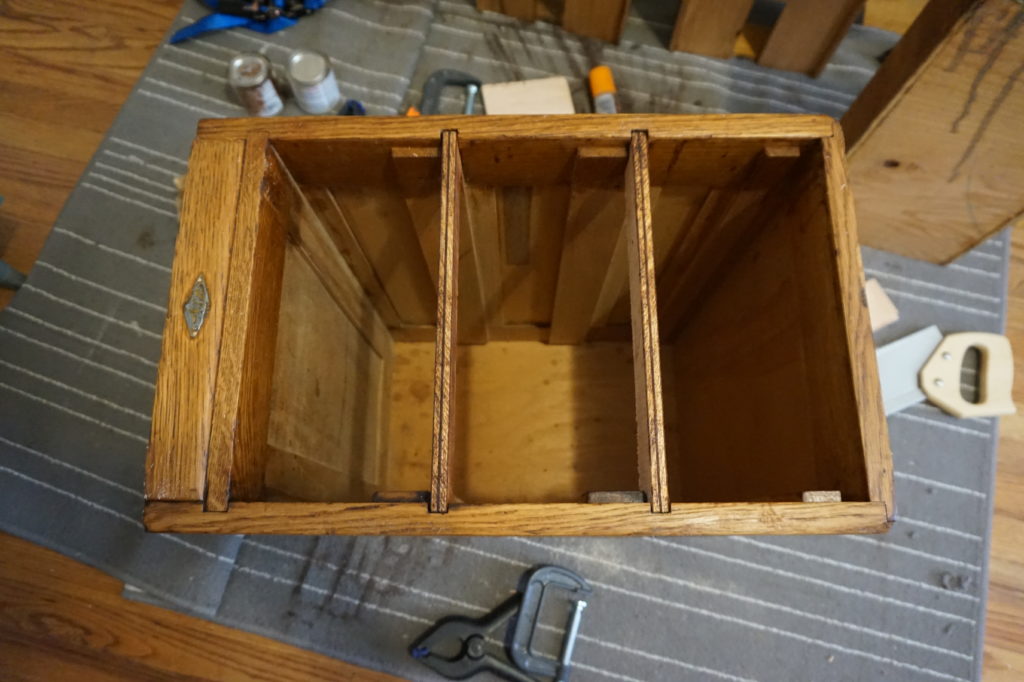 Because it is a card catalog cabinet, the drawers had moveable card stops, which required a cutout that runs the entire length of the drawer. This makes the drawers very ineffective for storing anything but paper, so I cut some plywood panels to drop into place to improve storage options.
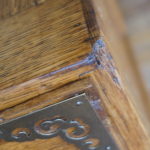
I glued all the broken drawer corners back into place, but they looked hideous, so I scoured the internet and local hardware and supply stores looking for something decorative to put on the corners that would match the existing hardware. Eventually I found something that, while a little more florid than I would have normally chosen, was the perfect size to cover all the imperfections of the corners.
After a quick stain and a very light hand-rubbed polyurethane finish, I was happy with the final results. It now sits under my new desk at my new job, as the catch-all for my work randomalia.

