In the post-Summer Solstice slide towards my long-desired clouds and cool weather, I’ve found myself engulfed in possibilities. Possibilities and a tranquil sort of balance that is relatively rare in my life.
The end of Summer always brings about a bit of personal sadness as the apartment empties of the sounds of frivolity and frivolousness* that accompany my children. Called back, much to their chagrin, by the ceaseless clarion of education, they abandon their rudderless Summer meanderings and leave me in pursuit of what I can only hope will be a fruitful experience.
*Okay. They’re teenagers now, so it is less frivolity and frivolousness and more ennui and pointlessness.
This September was also marked by an inconvenient, but not altogether unexpected, professional situation. By situation, to put a finer point on it, I mean to say that my services were suddenly no longer required by my employer. Fortunately I had seen the winds changing and begun preparing for the inevitable several weeks earlier.
The balance to all of this has been more time to devote to the subjects of this blog. But also, the end of Summer has brought about a great emigration from my neighborhood. And with this flight an incredible and unprecedented bounty of free stuff has been littering the alleyways for the last two weeks. As if my storage space were not already overflowing with future projects, I have also picked up a phenomenal mid-century desk, an antique, industrial metal table, a vintage Art Deco vanity mirror and a mid-century chrome frame for a small bench.
So. You lose some. But sometimes you also win some. In the end, if it all evens out, I will consider myself a lucky man.
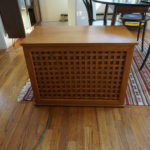
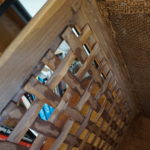
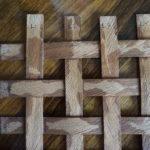
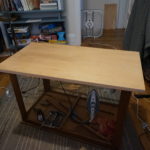
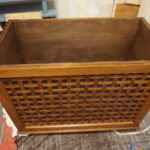
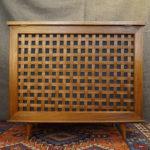
In the midst of all this, I pulled out of the storage unit an interesting piece that my other half and I had procured from an adorable old man earlier this year. The reed basket weave design reminded me of the original speaker grill for the Mid Century Stereo Console, so I assumed it was likely of similar provenance.
The adorable old man confirmed my assumptions and told us that it has originally been a radio, but he had gutted all the insides and had been using it for storage.
Fortunately it was in just poor enough condition that no one else wanted it, but still in good enough condition to be completely salvageable with a little effort.
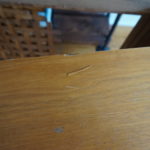
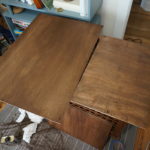
There were some serious scratches and gouges in the top, as well as some missing edging around the sides of the lid. Apart from this, it really did seem to be in rather solid condition, so we paid the kind old man and disappeared in the cool, Spring night with our new treasure.
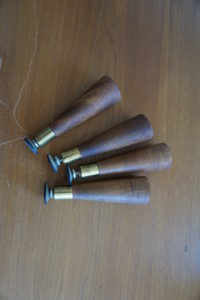
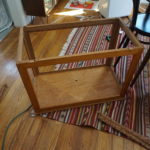
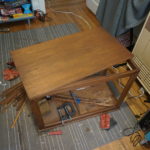
Once I removed the legs, I realized that the little feet screwed into the caps, and since these feet always remind me of school desks (not my favorite aesthetic), I promptly removed them. Much improved, in my opinion.
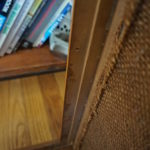
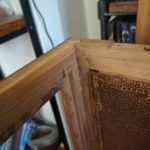
I started by cutting out the old, dry-rotted fabric from one of the side panels and was delighted to find that the fabric was stapled to a wooden frame; and that the wooden frame was all that held the basket weave in place. No potentially damaging glue or odd manufacturing quirkiness: just simple, straightforward, old school, flat head screws.
Life was looking up as I began to realize this would be much easier to disassemble than I had feared.
As I was cutting out the fabric, I noticed a lot of fantastic marginalia scrawled about on the frame and captured some of it. I am enthralled by this sort of stuff because it gives me that opportunity for a fleeting contact with the past. Some craftsman or craftswoman had jotted down their notes on this bit of wood, decades ago, never expecting it to be seen; and I get to discover it and wonder what it all means.
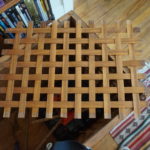
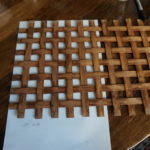
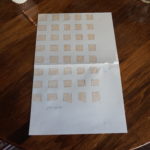
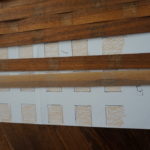
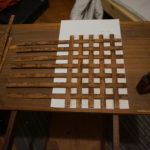
One of the biggest challenges going into this project was to salvage the basket weave. I’m not really a huge fan of it, but my other half convinced me it was cute and worth saving. So, as I pulled the side off, I decided to make my life easier by numbering the reeds, and then tracing them out on a piece of paper to make a template for reassembly.
I followed the numbering process for all four sides, but made the mistake of assuming that I could reuse the template universally. More on that later…
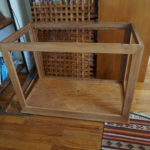
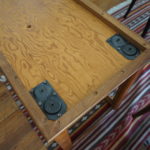
After the fabric had all be stripped and the basket weave removed, I stripped all the stain and finish off the frame. That was the first time I had really flipped it over and I noticed that the mounting plates for the legs were of the design where you can choose straight or angled installation. I love options!
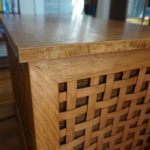
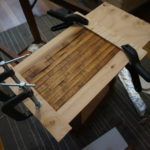
Next, I moved on to removing the remaining edging veneer from the lid. Since I knew I couldn’t match what was there, I wanted to remove all of it and start fresh. I had anticipated it coming off easily, since half of it was already missing. This did not prove to be the case and I had to use a chisel to pry it off in places. Unfortunately, I also accidentally gouged a sizable notch out of the lid that I didn’t notice until after I had already cleaned everything up.
Against all expectations and common sense, I carefully sifted through the bits of wood debris in the trash bin and miraculously found the precise sliver of veneer that I needed. A little bit of glue, patience and wood filler later and I had a nearly seamless repair. In fact, it turned out to be so nearly seamless that I completely forgot about it as the project wore on and cannot find it in the finished product.
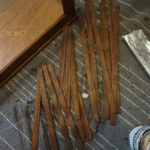
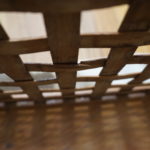
After the frame and the lid, I moved on to the much more daunting task of stripping and sanding all the reeds for the basket weave. After trying to tackle them one at a time, I built a rig that allowed me to rough sand 10 at once, saving me a ton of time. Even still, it took so long that it felt like my life would forevermore be defined by sanding a ceaseless supply of unreasonably thin and narrow strips of wood.
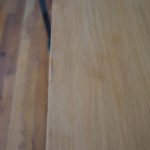
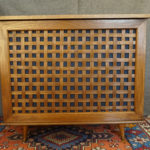
As all things, though, even the sanding came to an end and I was able to stain the reeds. Because the lighting differs so much from picture-to-picture, it is a little difficult to tell, but I went with a stain that is much darker than the original, which was a honey color.
While waiting for the reeds to dry, I tackled the new edging for the lid. Then there was a little sanding to get everything all nice and uniform before another stain attack. I stained the frame at the same time.
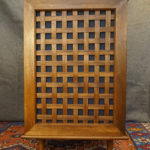
Then we get to reassembling the basket weave. The template I created way back when actually worked beautifully for the side pieces, but was not even close for the front and the back. I tried using it anyway and ended up with something that did not make me happy, so I took them off and disassembled them again.
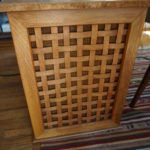
Fortunately, age and exposure had bleached the reeds, as had the remnants of the glue that was used to hold it together during the original manufacture. Enough of the discoloration was still visible that I could use it as a guide to reassembling the front and back weave. It’s not perfect (even though it is a little better than it appears in the pictures), but it’s much, much better than what I did the first time around.
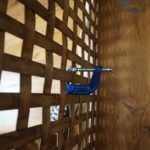
I did end up accidentally splitting one of the reeds, but a little glue and clamp action mended that right up.
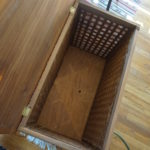
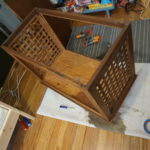
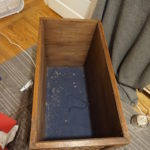
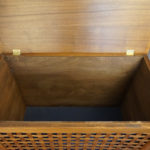
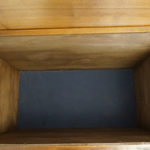
With the basket weave in place, I started tackling my upgrades to the storage bin. First thing was to glue some fabric down on the bottom so that it wasn’t exposed wood.
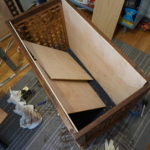
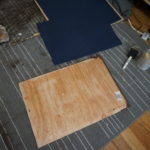
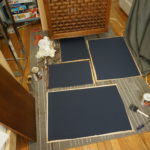
My next goal was to add panels to the inside, so that things could be stored without fear of accidentally busting the reeds or the fabric. This also allowed me to eschew the original design of stapling the fabric to the frame and, instead, glue it to the panels. Now there’s no fear that it will stretch or sag or accidentally tear if someone sticks a finger through the reeds.
I also discovered my new favorite tool for applying contact cement: the foam brush. I’m not super keen on the lack of re-usability of this application, but it was so much easier and the results were so much more desirable.
I had a few of the frame screws left over (okay, I admit, the basket weave didn’t perfectly align with the original orientation, so some of the pre-drilled holes in the frame couldn’t be used) and decided that I wanted to use them to mount the panels. Not having quite enough, I ran out to the local supply store and found some very similar wood screws.
Since I wanted the panels to look as much like the original design as possible, I left the screws visible, which gave me the opportunity to use the counter sink bit that’s been sitting unused in my drill bit set for years.
I’m not sure why I’ve never used it before…
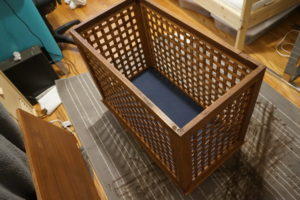
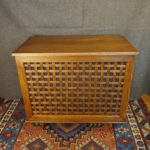
In the end, it was a much upgraded storage bin. Again, the lighting doesn’t really capture the difference in color, but it was originally a light, honey color and ended up a dark walnut color. The darker color ended up looking great with the deep blue fabric.
After some of the frustrations with the previous stereo console, this was a wonderfully stress-free project. I even managed cut the wood panels in (mostly) straight lines that didn’t look like a child had been running the saw.
Supplies:
- Mystery radio console
- Paint stripper
- Varathane Dark Walnut stain
- Minwax Wipe-on Semi-gloss Polyurethane
- Lots of sandpaper
- Fabric
- Plywood underlayment

