There was a point during this project where I had to face a harsh truth and decide whether my ideals could be compromised, or even realigned, if it meant making this a more successful project.
One thing that always makes me sad is to see painted furniture. Wood is such a beautiful, unique construction material that it baffles me when people desire to cover it with the uniform blandness of paint. Of all the projects I have tackled since starting this hobby, only one has forced me to resort to painting. The Smokers Rescue Bookcase was in need of such extensive glue/putty work that I couldn’t salvage the wood finish.
When I realized that there was no real wood to be found in this console, I genuinely struggled with the idea of covering everything with wood veneer. It would have given me the finish I envisioned for the project and it would have been much cleaner than paint. But, it would have been exceedingly more time-consuming and dramatically increased the potential for failure, so I had to commit to realigning my vision, and my ideals, for this project.
Ultimately, I am okay with the end result. The spray shelter made painting much more convenient and provided better results, though not quite as perfect and flawless as I would have liked. I’m not terribly keen on the uniformity of the color and think it could have used some more accents or contrast, but I have to admit that it looks much better than it did.
I suppose it wouldn’t be a real project without some crisis of conscience.
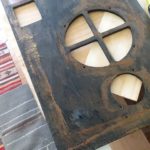
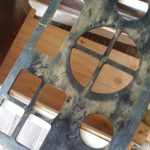
Since I am relocating where the speakers are positioned within the console, I needed to open up the speaker panel to allow more airflow and not block the speakers. This was a pretty painless task with a jigsaw and some patience. With this project I was determined to take my time and try my damnedest to make nice, neat cuts for all of the woodwork. Some of them turned out better than others, but overall I was pleased with how well everything turned out (considering my lifelong history of being thoroughly incapable of cutting straight lines or smooth curves).
I spent about half an hour in the fabric store trying to find new fabric for the speaker grille and ultimately settled on a textured, cream-colored fabric that I felt complemented the light grey paint. After cutting the new holes in the speaker panel, I whipped out the stapler and contact cement and got to work.
Unfortunately, the fabric I had chosen turned out to be too thin for the project and the contact cement seeped through in unappealingly visible ways. The fabric was also not sturdy enough to stretch across the holes in the panel. You can see the outline of the big hole in the picture below.

Fortunately, while I was at the fabric store, I had also picked up a yard of fabric that I liked but intended to use for another project. In the store it didn’t strike me as complementary to the color of the console, but I think it ended up adding more contrast and “pop” to the speaker grille. It also looks a bit more “retro”, so it lends an air of authenticity to the finished product.
With the external components coming together, it was time to turn my attention to the internal components. Before I could reassemble the speaker panel or the new interior storage panel, I needed to mount the LED for the power indicator.
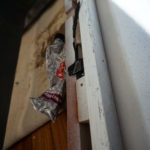
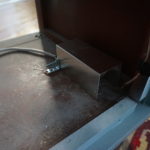
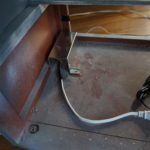
The first picture below does a poor job of illustrating this, but I used a combination of glue and tape to attach the LED to a small L bracket that was then glued to the wooden frame (it’s the black blob in the middle of the picture). The lead wires were fed along the frame, down into the area below the false bottom. I installed a small, open-ended housing for the PCB/fuse assembly and attached a short cord so that I can plug it into the extension cord that will be housed in the bottom of the console.
Initially, I had some difficulty sourcing another set of the computer speakers I wanted to use for the project, but I was able to order them directly from the manufacturer. Alas, shipping was not as expedited as I would have liked (or as I have become accustomed to expecting in this age of Amazon Prime), so there was some delay in getting around to the almost-final step.
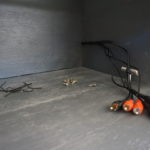
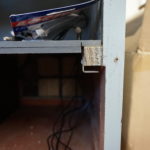
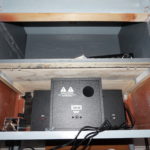
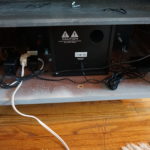
Once the speakers arrived, I could finally notch out the interior panel of the storage space, feed through the wires that would go to the control box and mount the panel to finish the storage space. Down in the hidden space for the electronics, I glued an L bracket to the bottom of one of the support beams so that I could tuck the cables up out of the way.
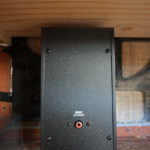
Mounting the speakers themselves was a stroke of good luck. Admittedly, I had used portions of the original design (the record bin) to determine the depth of the storage space, without consideration for the height of the speakers. The fit was so nearly perfect that I couldn’t have engineered it better (trust me, if I had tried to engineer it better, I would have failed).
To mount the speakers, I screwed L brackets in strategically located sections of each speaker, and then glued the bracket to the floor of the hidden space using Loctite glue.
After the speakers were mounted, I borrowed another cable management idea that I found in my first stereo console project and stapled some twist ties to the floor of the hidden space. Then I simply wound up all cables in orderly fashion and tied them down to the floor, out of the way.
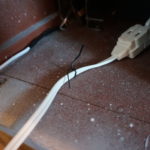
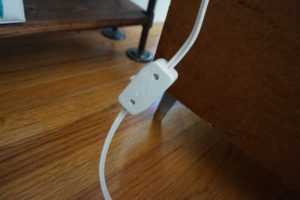
Since the power indicator light on the front of the console doesn’t actually connect to the speakers or the Bluetooth receiver, it actually only functions as an indicator that the extension cord is plugged in. That didn’t seem terribly helpful in my opinion, so I decided to add an in-line switch that allows you to turn all of the components on and off at one place; thereby making the light valuable.
This ended up being such a different project than I originally anticipated; and the difficulties I faced were not at all what I expected. As such, I am still processing a lot of this project and have a lot of thoughts on what I experienced. I think I may save the project review for its own post, once I have had a few days to stare at it and let everything sink in.
Supplies:
- Emerson Phonoradio
- Arion Legacy Deep Sonar 300 computer speakers
- Amazon Basics Bluetooth receiver
- Rust-oleum Painters Touch Ultra Cover spray paint
- Zinsser Bulls Eye Primer
- L brackets
- Plywood
- Cabinet hardware (hinges and drawer pull)
- Electronics (LED, fuse, fuse holder, diode, resistor, PCB, wire)
- Leviton Appliance switch
- Fabric
- Staples
- Contact cement
- Loctite Power Grab

