There was a period of about three months between my last post and starting the documentation of this project. I wasn’t entirely unproductive during that time; and in fact spent it refinishing a night stand that was collecting dust in the kids’ room, refinishing a side table in our living room, refinishing our coffee table and refinishing our dining room table.
Starting to see a trend? I did and it wasn’t a trend that thrilled me. During that rush of sanding and staining activity, I discovered something about this hobby: I’m far less impressed with simple refinishing projects than I am with bigger projects that require reimagining and repurposing some existing artifact.
On one side of the spectrum, there is the rote (and sometimes meticulous) act of preservation – sanding and caring and staining and restoring. On the other end of the spectrum, there is the art and creativity of turning something that is trash into something functional and aesthetically pleasing.
With this project, as with the oil furnace or the over/under or the trash pile bookcase, there was an element of imagination. I could sit down on the floor next to a piece of unmade furniture and get lost in all the possibilities of what it could be and how I could help it achieve that goal. I’ve learned that I find this deeply rewarding; so much more so than simply making something look nicer than it did.
Realizing this helped me to turn a corner in my understanding of what I want to accomplish with this hobby. Moving forward, I’ve decided to dedicate less time to refinishing and more time to repurposing. It might mean fewer projects, but I feel those projects will ultimately be more rewarding.
Now. Back to the Lamination Lamentation.
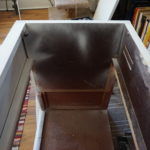
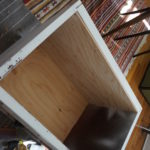
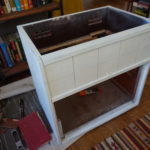
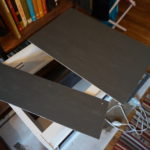
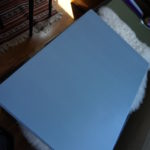
Leg work done, I used up the rest of the can of primer on the outside of the shell, and then turned my attention towards the storage area that would be above the false floor.
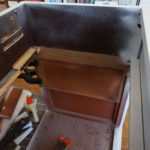
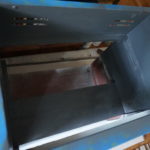
Ever a sucker for frugality, I decided to reuse the side panel from the record box I removed when gutting the console and extend the existing interior walls so that the inside storage area would have a cleaner appearance. By luck or by virtue of some unknown design element of the original record bin, both sides ended up almost the same.
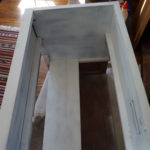
Next, I added some 1″ x 1″ support beams for the false floor.
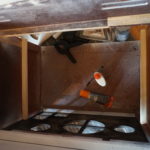
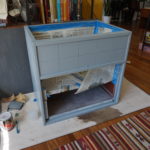
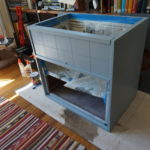
I had wanted a cleaner look for the front of storage section, and needed to do something about hiding the now-visible speaker grille panel, so I bought enough plywood to create not only the false bottom but also a new panel for this purpose.
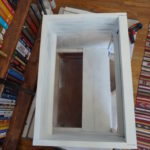
After gluing down the part of the false bottom that would remain stationary, I finished priming the shell, inside and out.
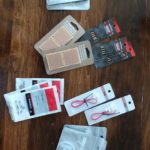
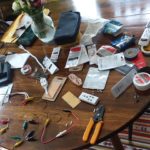
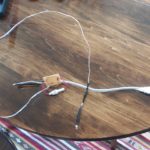
The original electronics included a power indicator light that I had wanted to salvage and reuse, but ultimately could not, due to its location in the storage area. Not wanting to completely abandon the idea, and have a visible remnant of a nonfunctional power light on the front of the console, I did some research into an LED assembly that would run on AC power.
This rabbit hole led me to two interesting discoveries: You cannot readily purchase such an assembly and apparently Radio Shack is not a thing anymore.
After doing a fair bit of research, I came across this SIMPLE 120/240 VAC LED Power Indicator video which seemed like a reasonable solution. Armed with my list of components, I hopped on the bus to the Radio Shack downtown, only to discover that it was closed and in the process of being converted into a Sprint store.
Confused, but undaunted, I went to the Radio Shack website to check some of the other local stores. But there weren’t any. In fact, the store locator on the Radio Shack website indicates that there are no more stores anywhere in my state. And so marked the passing of another great American institution, overtaken by the inevitable march of progress.
Fortunately, I was able to order most of what I wanted (and all of what I needed) from the website. At least in the short term, that is a possibility.
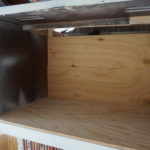
Now it was finally time to start painting. While I was at the hardware store picking out paint, I wasn’t sure which color grey I would prefer, so I bought two shades. I liked the lighter color for the exterior, but decided to add some contrast to the piece by using the darker color for the interior.
My years of complaining about trying to spray paint outdoors in the wind run contrary to my adamant desire to use spray paint for this project (and get a nice, even coat of paint without any evidence of paint brush marks or paint pooling). As such, I deemed it finally time to invest in something to make the process easier. I found a portable spray booth that resembles a pup tent for hobbits, but it was perfect for keeping bits of airborne detritus from blowing into the paint while it dried.
I was getting close to wrapping the project up, but was having difficulty sourcing speakers that I liked. So, I decided to take a break for a day or two and research my options.

