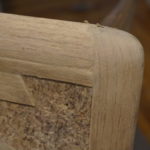
I had done a little research into this table before I started working and discovered something interesting, which solved a minor mystery surrounding it. Apparently what I had was not the complete product and the true extent of the water damage was not evident by dint of omission. The table I had purchased had originally been manufactured as a two-tiered side table, with the trademark Lane Acclaim dovetails on both the top and bottom tiers. Evidently the top tier had been so damaged that it had been deemed unsalvageable and completely removed. This went a long way to explain the mysterious holes at one end of the table; which I had originally mistaken for random drill holes, but now knew to be where the top tier was attached to the bottom.
Picking up where the last post left off, I have reached another point where a pause is in order. This is a good moment to reflect on what I’ve accomplished over the last few days and take some time to ensure that I’ve thought through my next steps (which is not always never my strongest virtue). After getting the walnut veneer completely removed, I spent a little more time than I anticipated stripping all the solid oak trim pieces down to bare wood. I’m still not entirely sure what the previous owner used to refinish the table, but it was not even remotely fun to remove.
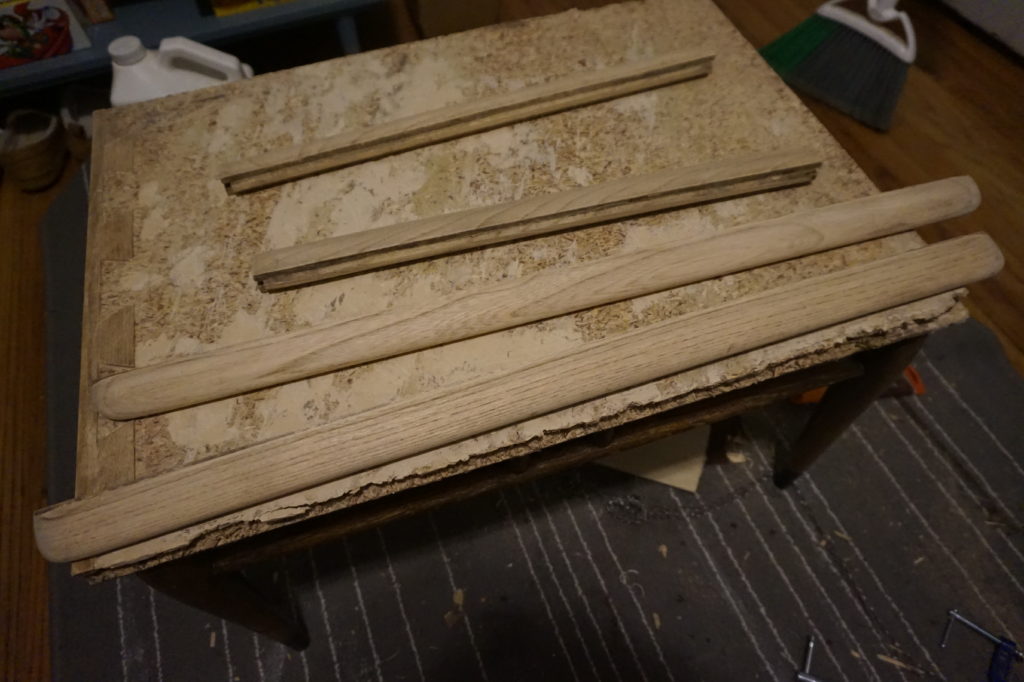
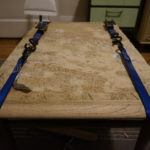
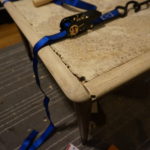
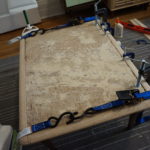
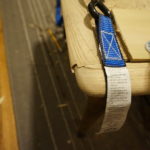
Next, using a narrow chisel, I cleaned out all of the grooves notched (kerf) into the table side for the tongue of the trim pieces. With everything clean, I was able to get a better picture of how warped the table had become and how that would impact reattaching the trim. The end pieces fit rather nicely, but the side pieces were going to be a problem, so I decided to reattach the end pieces first. After drizzling in a little bit of standard wood glue, I used ratchet straps to ensure a tight fit. Intemperance and impatience conspired to tempt me into moving along with the project at this point, but my struggle to fight these urges won out and I managed to leave the straps in place overnight to allow the glue ample time to set.
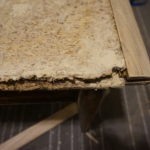
One of the things that I noticed as I was attaching the ends was that the bottom of the table flared out at the ends, which undoubtedly was contributing to the separation I noted in the trim pieces when I first inspected the table. Using a planer, I trimmed the sides of the table down until they aligned with the ends of the trim pieces.
Of the side pieces, one was clearly less of a problem than the other, so that is where I started. I had to spend some additional time chiseling out the kerf to correct for the expansion of the particle board.
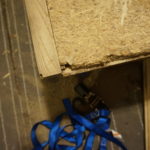
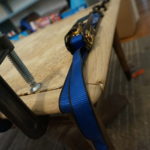
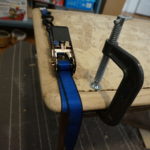
Since the entire table swelled, this also meant that the legs had moved closer to edges of the table. Because of this, I ended up having to chisel a small bit out of the tenon on the rear leg. When the trim fit snugly into place, I applied a little bit of glue and the ratchet straps to permanently reacquaint it with the table. I also used some clamps to squeeze the table in an attempt to correct where the bottom of the table was blowing out at the sides.
The easy side down, it was time to tackle the difficult side. The trim itself didn’t seem to be warped, but getting one end perfectly in place resulted in a gap of almost an inch on the other end. I had to do some fair amount of chisel work in the kerf on this side, as well as notching out the tenons on both legs. I also planed down the tongue on the rear end of the trim, since that is where most of the worst warping had occurred to the particle board. I achieved something manageable and once again employed the ratchet straps and clamps to hold everything in place while the glue dried. I gave it a solid 14 hours to dry before removing the straps, but that appeared to be not quite enough. While I was at work, the table settled a bit and a slight gap reemerged.
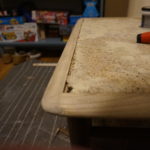
Getting the trim pieces firmly affixed revealed some additional weirdness: the table had expanded from front-to-back and the trim joints no longer aligned. Since the trim is solid wood, this turned out to be a pretty minor issue. I used a little wood filler in the gaps then a hand plane and some sandpaper to shave the joints down until they appeared near factory-seamless. It was at precisely this point in the project that I started to truly feel that I might actually be able to pull off this restoration. Even though it won’t be a true restoration without the original top tier, it could, actually, be something much better than what I purchased.
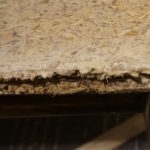
With the trim finished, I could finally turn my attention to fixing all the deteriorating sides of the particle board. Using a putty knife and my digits (and not the trowel in the picture), I filled in all of the holes along the side with some plastic wood.
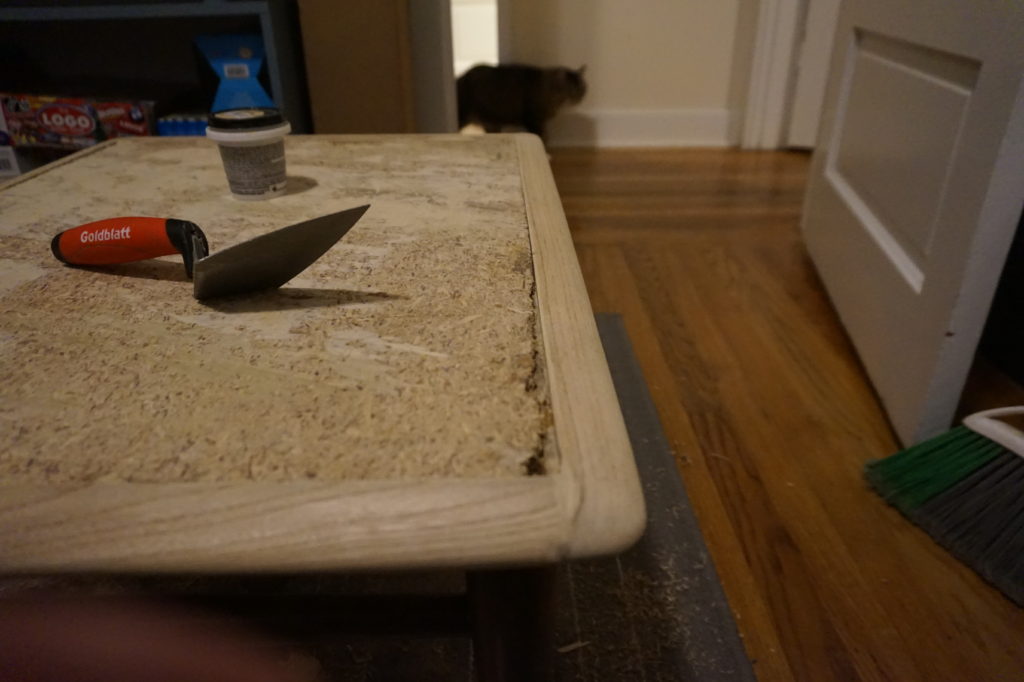
This is where the project pauses for a day or two while I figure out how to proceed from here. There is still a fair amount of bowing and warping in the surface of the particle board. The particle board comes up to the top of the trim in places, but is several millimeters below the trim in others. Additionally, the salvaged oak veneer dovetail detail is roughly twice as thick as the walnut veneer I purchased.
Now I am off to figure out how to mitigate for all of this inconsistency.

