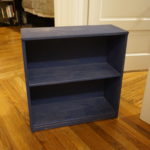
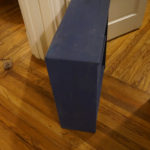
Without pithy musings or rambling prelude, this is the story of Brainy Smurf’s bookcase. Or rather, the seemingly Smurf-themed bit of shelvery that the gods of free things deemed fit to send my way.
Perhaps it is my obsession with libraries that has subconsciously drawn me to my predilection for bookcases, but I simply cannot resist a free bookcase project. As such, when I found this little gem in my neighborhood, I employed ever contrivance to make it my own. Free, solid wood bookcases are a gift. Free, solid wood bookcases that I can pick up three blocks from home are a truly divine gift.
Upon picking up the bookcase, I was immediately skeptical, based on the incredibly light weight. I was worried that the Smurfing blue paint was not hiding real wood, but rather that vacuum-formed pulp stuff that IKEA occasionally uses to make furniture that feels like wood, but is actually a homogeneous mass of wood-like substance congealed in a wood-like manner.
But still. It was a free bookcase project… Sucker, thy name is me.
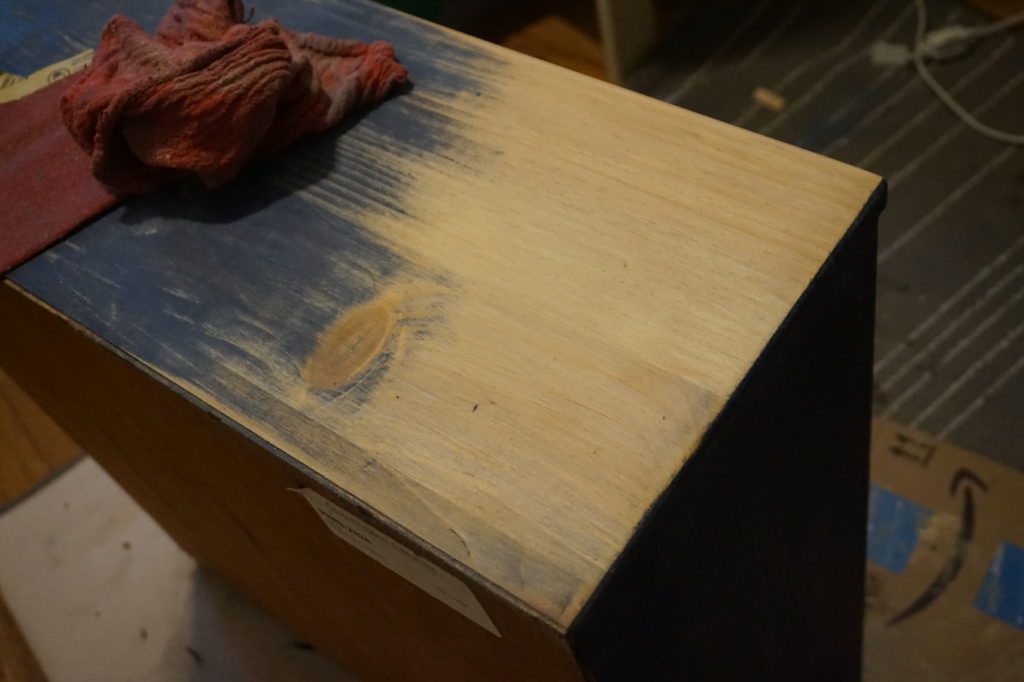
Initially, I attempted to strip the paint using a gel stripper. But, like my previous project (which I haven’t yet gotten around to documenting here) Library Bureau Book Shelf, I was not having much luck. Either the stripper is not powerful enough to be of any use, or the paint was excessively durable. After several attempts to use the stripper, I resorted to the manliest of stripping methods – sandpaper. And I was absolutely thrilled and relieved to find actual, honest-to-goodness real wood under the paint.
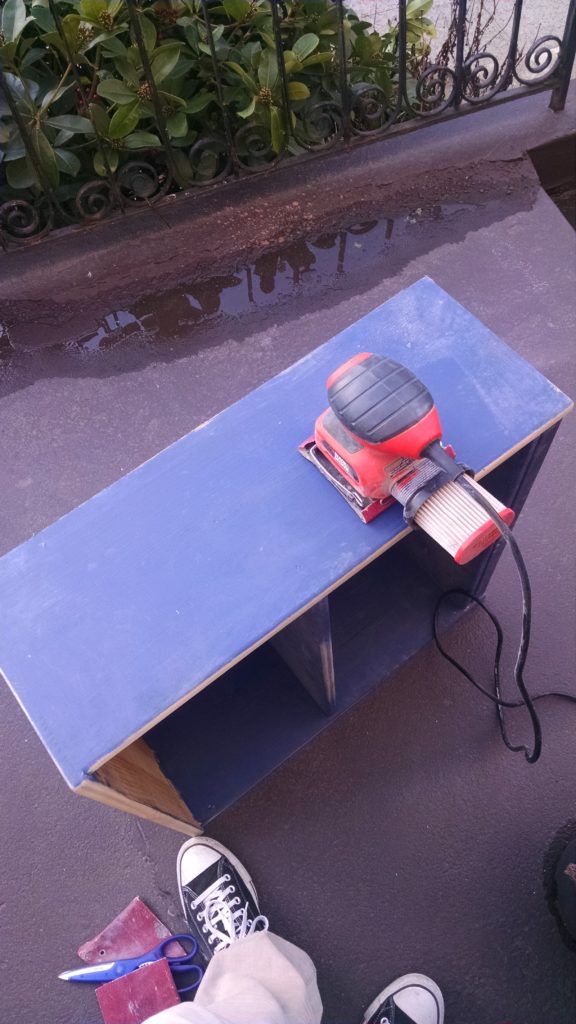
Unfortunately, my manliness knows very finite bounds and so, for the sake of my poor, frail forearms, I dispensed with the exercise and embraced modern technology to assist in the paint removal. 20 minutes of noise and weird looks from passersby later, I had the entire outside of the bookcase stripped of Smurfiness.
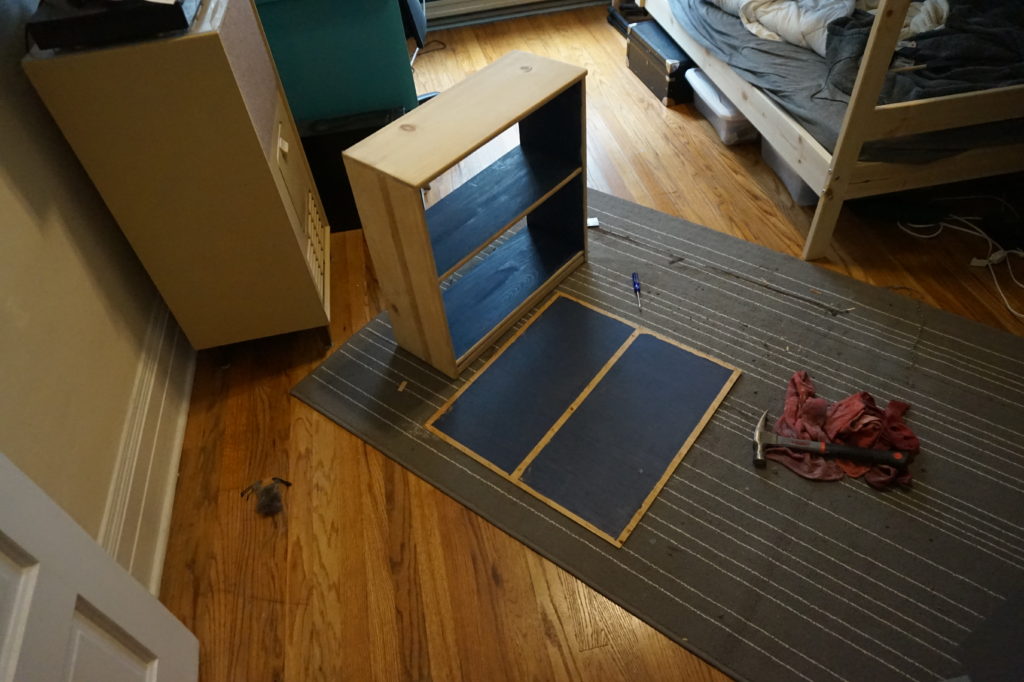
My vision for this bookcase was to replicate something similar to my beloved (and never forgotten) Trash Pile Bookcase. So, I was planning to paint the inside and stain the outside. To start this process, I did something that I had never done before: I removed to back of the bookcase to facilitate painting.
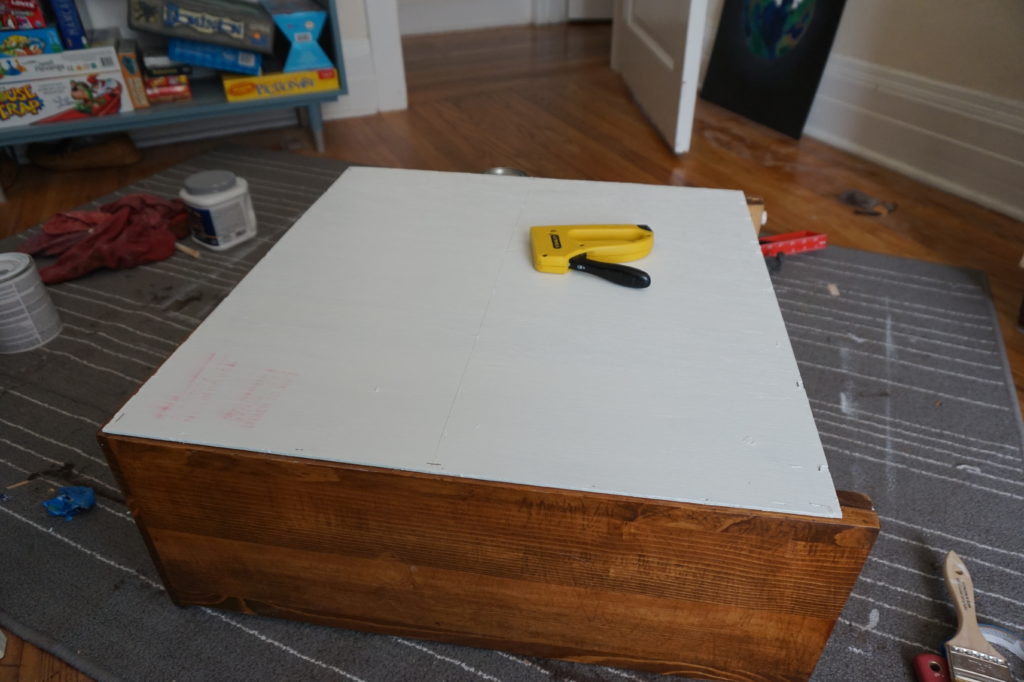
This turned out to be a rather simple process of using a flat-head screwdriver and a hammer to pry out all of the staples holding the back in place. Once this was removed, I was able to prime and paint the back as a flat piece of wood. I found this better than painting it attached, because it eliminated the possibility of paint pooling up in the corners and joints where the back is attached to the sides and shelves.
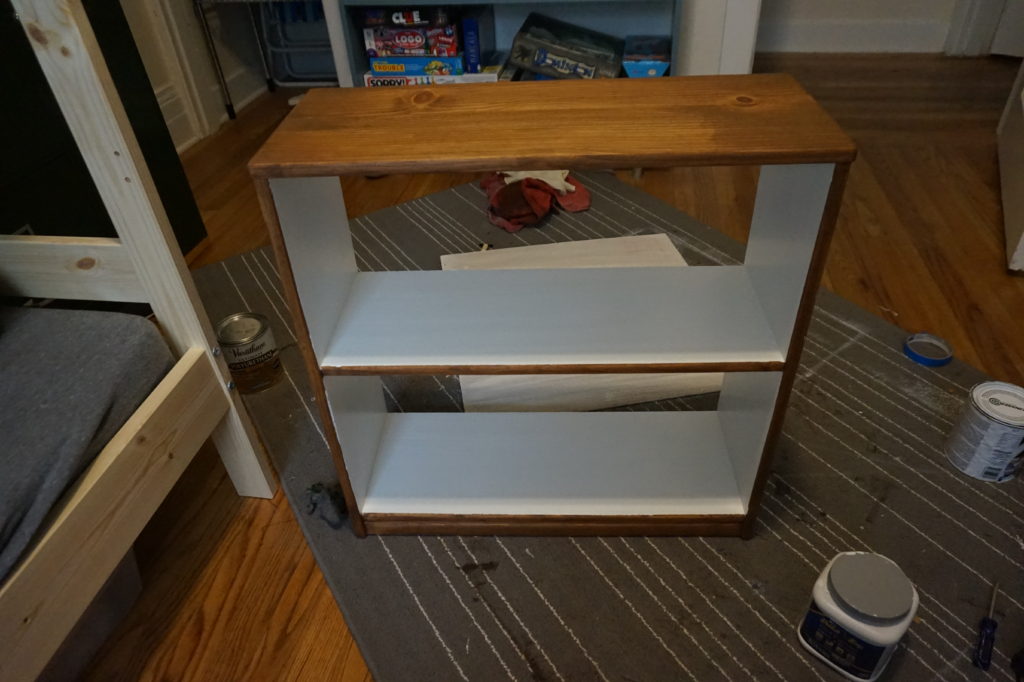
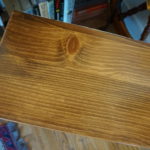
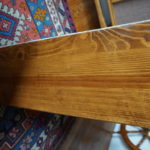
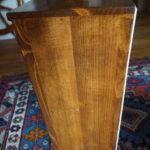
Before painting the inside, I decided to stain the outside. There were some, for lack of a better word, “artifacts” of the sanding process that became evident after stain was applied. Were I aiming for perfection, I would have been sorely disappointed, but being a firm believer that perfection is a fool’s errand, I really appreciated how these imperfections in the wood porousness lent the bookcase a look not dissimilar to something built from reclaimed wood.
My better half and I had a conversation about how often I tend to fall back on our seemingly-endless supply of green paint for these projects. So, I decided to use some white paint that we had recently picked up to touch-up her nightstand. Primed and painted, the formerly Smurfy bookcase looked sleek and modern.
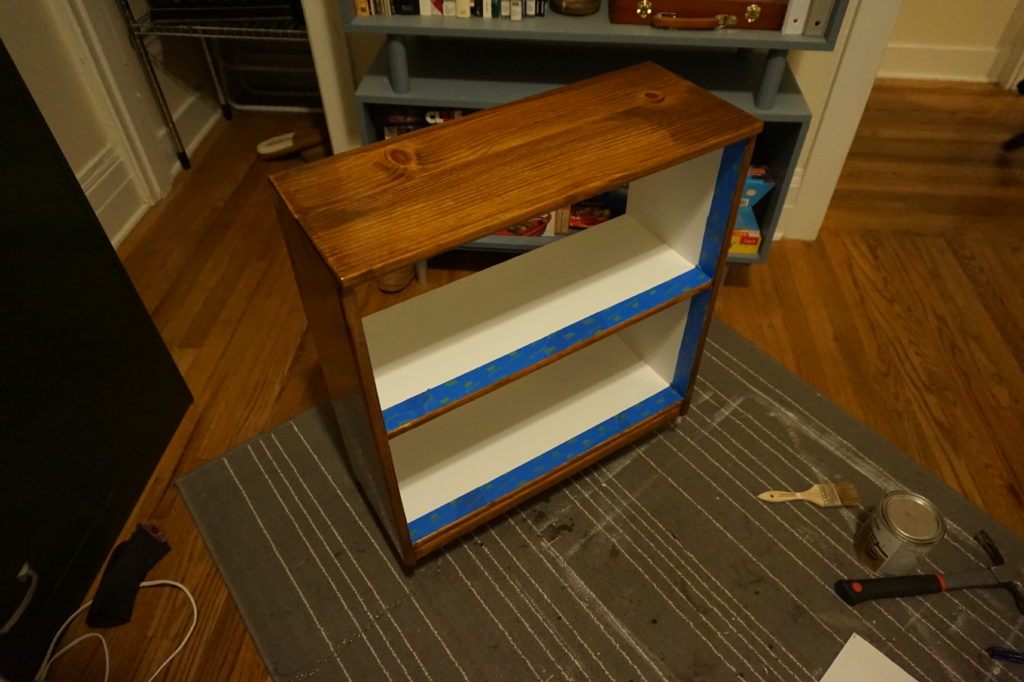
Next it was time to tape off that sleekness and clear-coat the beautiful wood bits. This started a back-and-forth process of taping off the painted parts to touch-up the stained parts; then taping off the stained parts to touch-up the painted parts. It was a tad more tedious than I like in a hobby, and certainly took up more time than I expected, but the results were everything that I imagined.
And so, the time had come to reattach the back piece. Seeking to replicate what had been there before, I attempted to use staples to affix the back to the bookcase. After having gone completely around the bookcase with the stapler, and then attempting to stand the bookcase up into its proper position, I discovered that the staples I used were too short. So, I had to remove all of those and start over again. Fortunately, I had a box of small furniture tacks that I used instead; and once I had the back firmly attached, I had a damned fine-looking bookcase.
Supplies:
- Varathane Early American wood stain
- Minwax Clear Semi-Gloss polyurethane
- Zinsser Bulls Eye 1-2-3 primer
- Dutch Boy Dirt Fighter white paint
- Contractor-grade gel paint remover
- Lots of sandpaper

