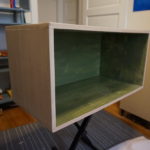
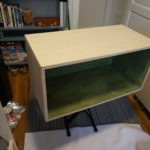
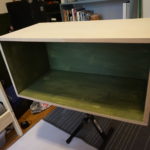
Last time on The Over/Under… The project continued while splinters and moisture threatened the sanity of the team. Meanwhile, an unknown obstacle lurked in waiting.
Join us now for the compelling continuation of The Over/Under!
For the sake of complete transparency, there is a Day 2.5 in here that didn’t receive its own update. It was a quick bit of work to prep for Day 3, which I knew would be far more fruitful.
I started by applying the veneer to the bottom of the box. Having finally learned my lesson about the edge trimming tool, I opted to take a much slower, but much safer approach with this piece. Trimming with the grain was a relatively painless endeavor, but trimming against the grain continued to prove complicated. In order to prevent splintering as much as possible, I used a utility knife and cut slits in the overlapping veneer, perpendicular to the edge and at quarter-inch intervals. I then very gently shaved the veneer off, moving one interval at a time, being careful not to be overzealous. While taking considerably longer than using the trimming tool, it did ultimately save time in the sense that I didn’t have wait a day while the glue dried on the splinters.
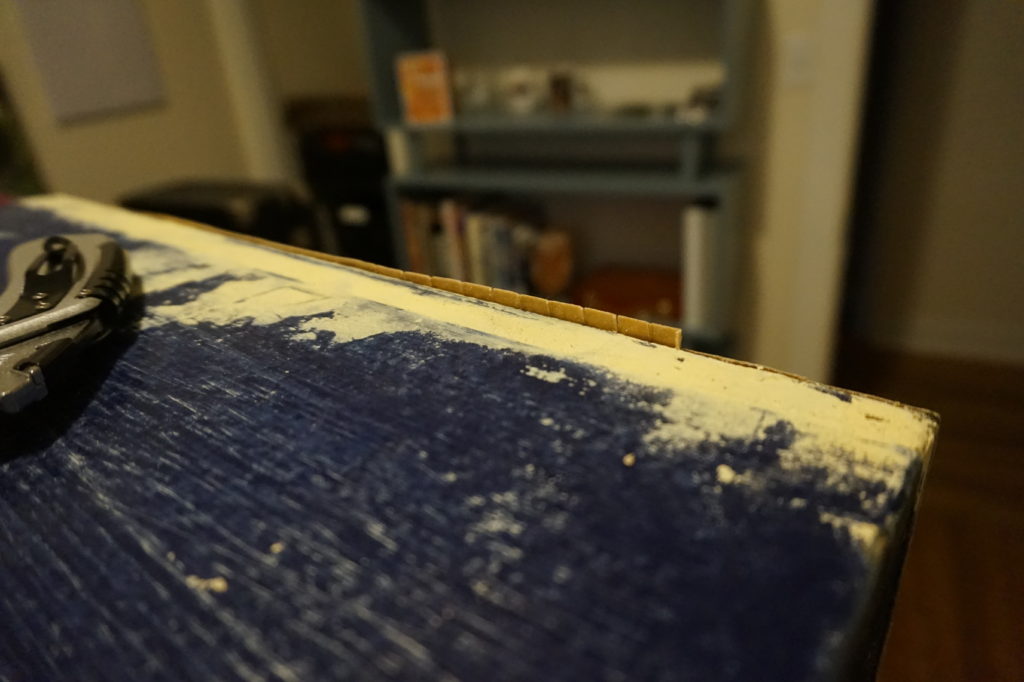
Once the top and bottom were veneered, I took a few moments to build up the edges a little more with wood putty; doing the best I could to fill in areas where the underlying wood was offset or not square.
Day 3 was easily the day that seemed most productive, in terms of having the most visible work accomplished. I had to make a trip out to pick up some edge veneer and sandpaper, which set me back a few days, but I made up for it by being as productive as possible in a single afternoon.
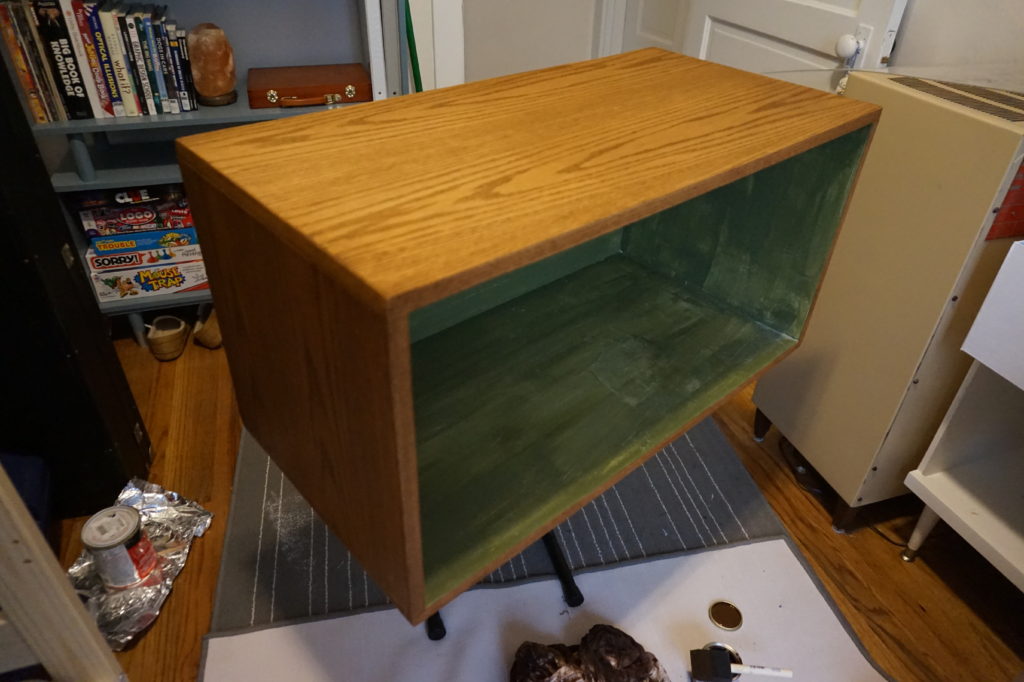
Kicking the day off, I started with applying the edge veneer. For this, I cut strips to length for all three visible sides of the top and bottom pieces and for the front side of the upright pieces. The edge veneer has heat-activated glue on the back, so it was a simple matter of holding it in place while heating the veneer with a clothes iron until the glue bonded. To prevent the wood from burning or discoloring from the heat, I laid a piece of aluminum foil over the veneer before applying the iron. This helps to dissipate the heat and spread it more evenly across the wood.
Once I had all the edging in place, it was time to move on to the veneer for the side pieces. Not trusting myself to measure with any amount of accuracy, I cut a piece for each side that was slightly larger than the space to be covered. I then glued down the center of the veneer, leaving the edges unglued, and slowly worked my way around, using a straight edge to gently trim it down to the correct size. This turned out to be really slow work, but I was determined not to screw up this late in the game.
After the veneer was all in place, I took a moment to run over all of the edge veneer with the iron again, to make sure it was secure. I also used this opportunity to flatten some of the swollen grain of the large pieces of veneer by laying the foil down and slowly, systematically working around the veneer. The heat from the iron helped to flatten some of the grain and to reactivate the glue, to ensure a firm bond. It didn’t completely eliminate the issue with the grain, but it did make a big difference.
Why not just sand it down flat? That seems like the most reasonable course of action to take in the situation, but wood veneer is so unbelievably thin that sanding it down that much threatens to sand off the wood completely, or enough that the glue coating starts to show through, which changes the color of the wood and affects how it takes stain.
Speaking of stain, a quick coat is how Day 3 wrapped up.
Tune in next time for the thrilling conclusion to The Over/Under!

