Several apartments ago, we (like many modern families) outfitted the kids’ room on the cheap with some shelves from IKEA. Nothing fancy or original, we went with the ubiquitous cube shelves that you find in frugal homes around the world. Standing vertically, astride a beat-up bookshelf-turned-television-stand, these bastions of cost efficiency became home to all the books and boxes and sundries my children sought to collect around their lives. And happily did they house such bric-à-brac, surviving a move to a new apartment, until the fateful day we acquired a dresser for the room.
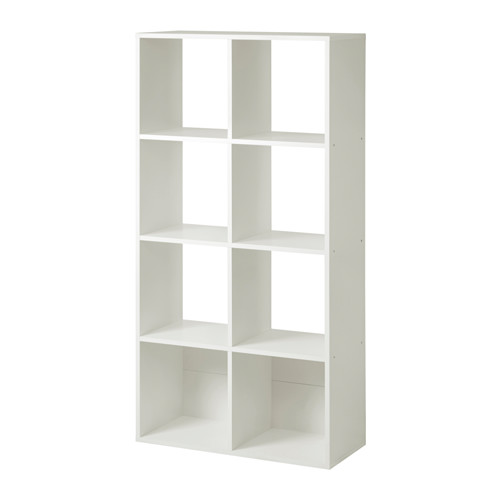
Needing space for the new dresser, something had to be sacrificed; and it seemed that one of the shelves was the obvious choice. Not wanting to toss the shelves, and seeing a need in our dining room for some more storage, I started to consider how to upgrade the piece to better fit the decor of our living room/dining room. Having just become acquainted with the fact that self-adhering wood veneer is a thing that exists, I began daydreaming and imagining a version of this shelf that was … classier.
As it turns out, wood veneer is an incredibly difficult thing to find in the hardware stores, lumber yards and home improvement stores in my area. Failing to find any in the local stores, I was forced to buy a roll of red oak veneer from Amazon. A few hours in Home Depot did turn up everything else I needed for the project, though: including some veneer edging, tapered legs and mounting plates, some outside corner moulding and all the glue and stain necessary to hold it together and make it pretty.
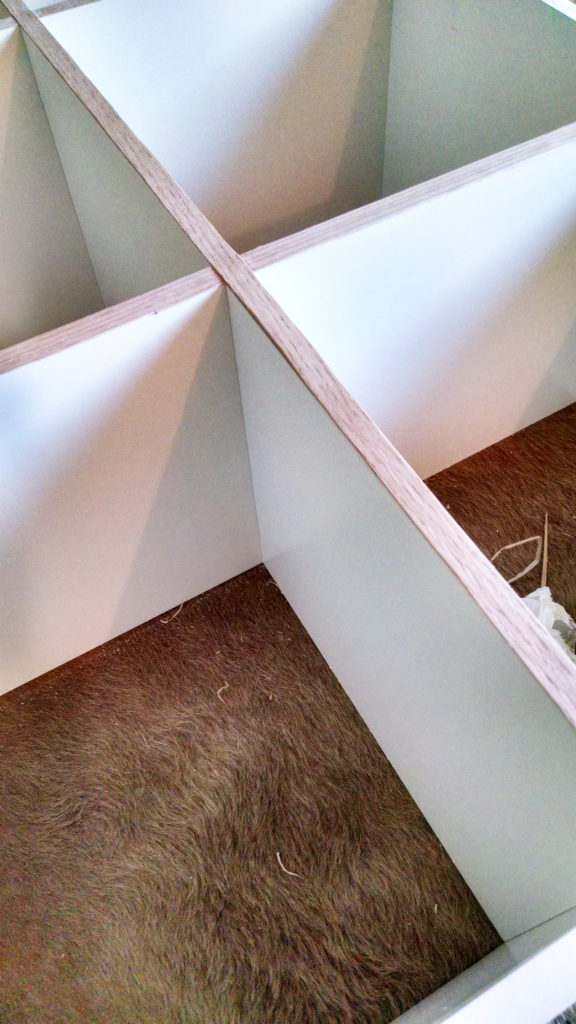
I was really excited to use the veneer edging, so I started immediately with cutting strips to length. The kind that I purchased comes pre-glued, with heat-activated glue. One of the tricks that I learned while applying the edging is to lay a piece of aluminium foil over the veneer and slowly work an iron across the foil. The foil helps to transfer the heat evenly, preventing the wood from scorching.
This being the first time I had ever attempted something like this, I wasn’t really thinking about trying to match the veneer to any realistic configuration of the wood, and so I ended up with the veneer overlapping as the horizontal piece intersected with the vertical pieces. My first rookie mistake.
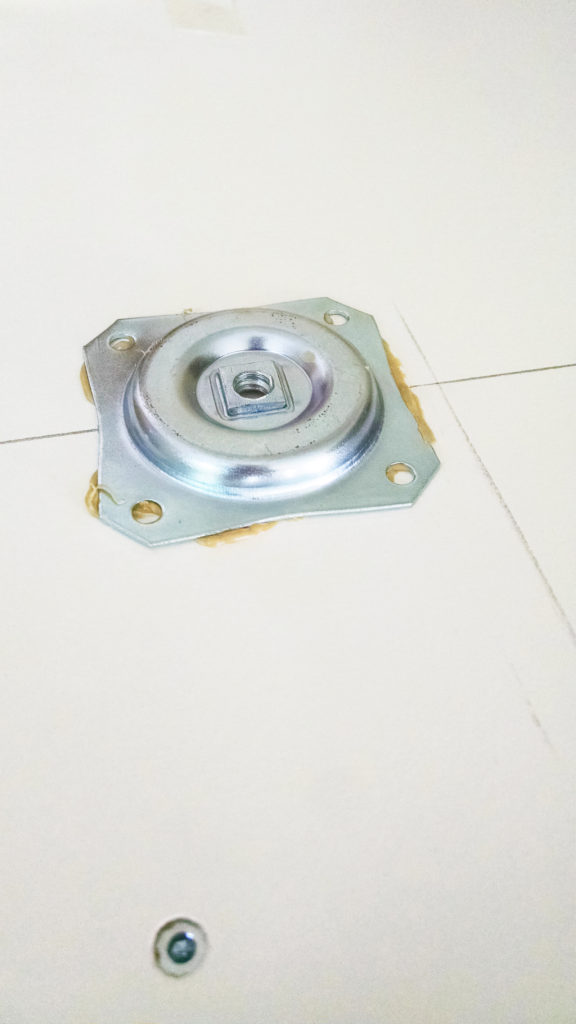
The mounting plates for the legs also threw me a curve ball, in that the wood for the shelves is too thin to use screws. Ultimately, I settled on Liquid Nails and glued the plates to the bottom. While not the prettiest solution, it was functional.
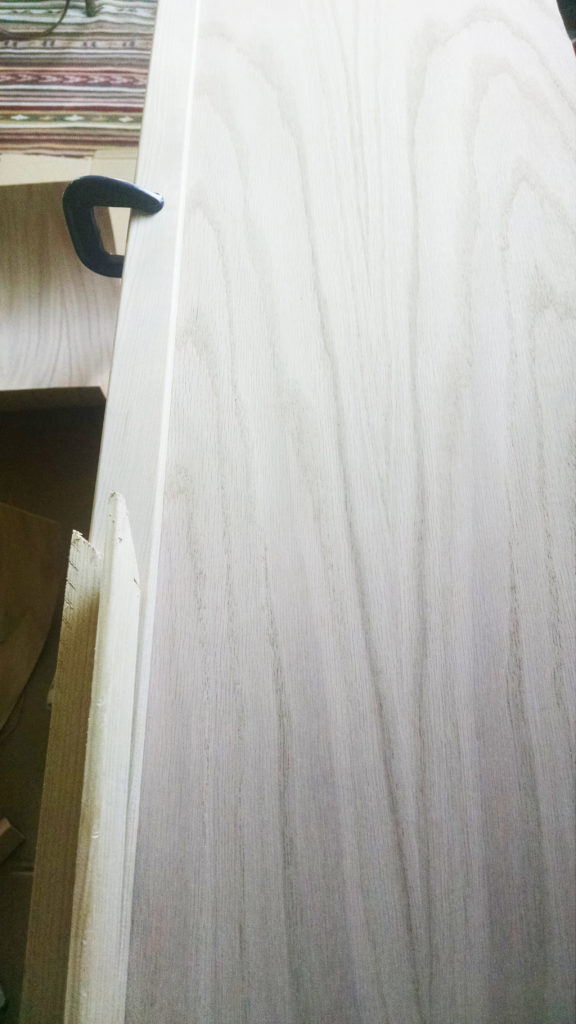
Sadly, the picture does no justice to the actual wood. I lucked out and got a roll of veneer with beautiful texture and grain; which doesn’t always happen and is one of the risks in ordering wood from the internet. I ordered a roll of veneer that comes unfinished, but with one side coated in adhesive, making it incredibly easy to apply, without filling the house with contact cement fumes.
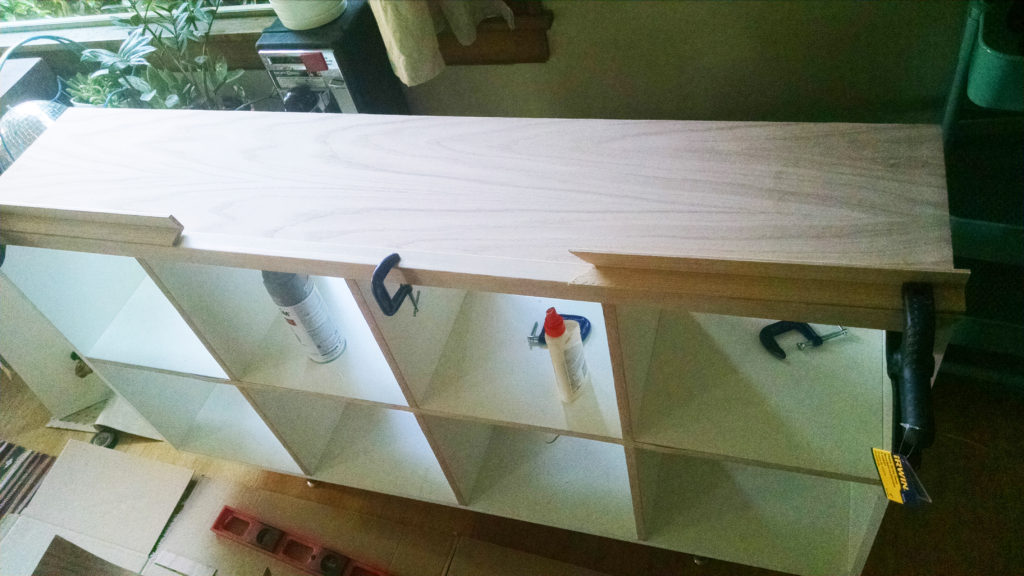
As is often the case when one begins a journey into new territory, ideas and preconceptions fail to endure the harshness of reality. My second rookie mistake with this project was in failing to properly conceptualize the outside corner moulding (and in failing to secure the proper tools for the job). This aspect of the project ended up being far more time-consuming and the finished result far less impressive than I had envisioned, but a serendipitous third rookie mistake managed to work in my favor.
After carefully measuring (and then remeasuring when the first measures weren’t quite careful enough) and lots of cutting things at 45° angles, I was ready for gluing, clamping and waiting. None of the pieces so carefully measured manifested into perfectly joined corners, and so lots of putty was employed to hide canyons and crevasses.
No single experience more readily solidifies one’s own lack of knowledge quite like attempting to make sense of the options available to a professional. Standing in the paint section of a home improvement store reminds me of the classic Simpsons scene which finds Burns confounded by the choice between “ketchup” and “catsup”.
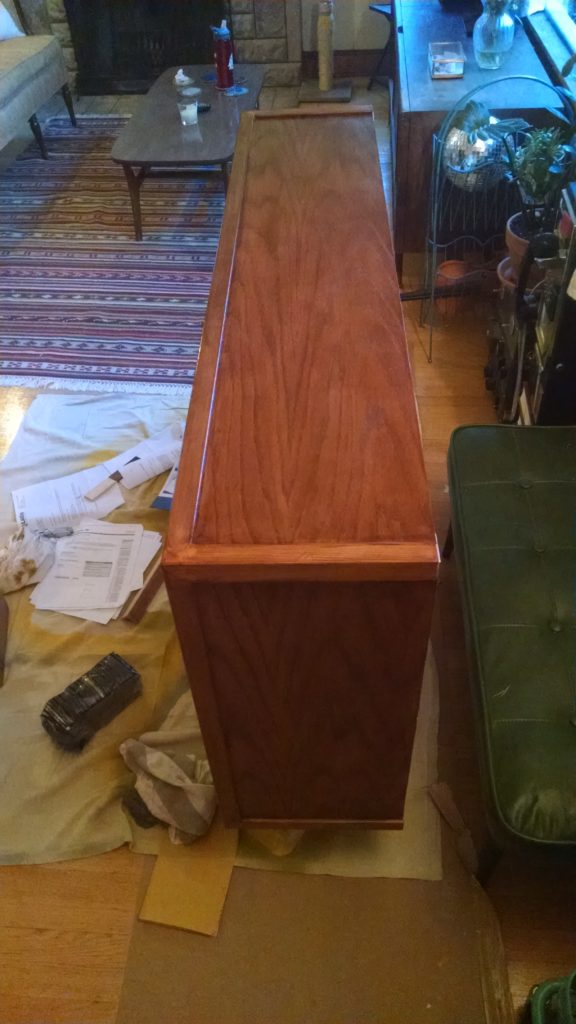
Burdened with an overabundance of zeal to finish this project, and with an under-abundance of proper knowledge of staining, I opted for the can of combined stain and polyurethane. While I will readily admit that this was my third rookie mistake, it did allow me to very easily hide all of my terrible joint work, which regular stain would have made extremely and embarrassingly obvious.
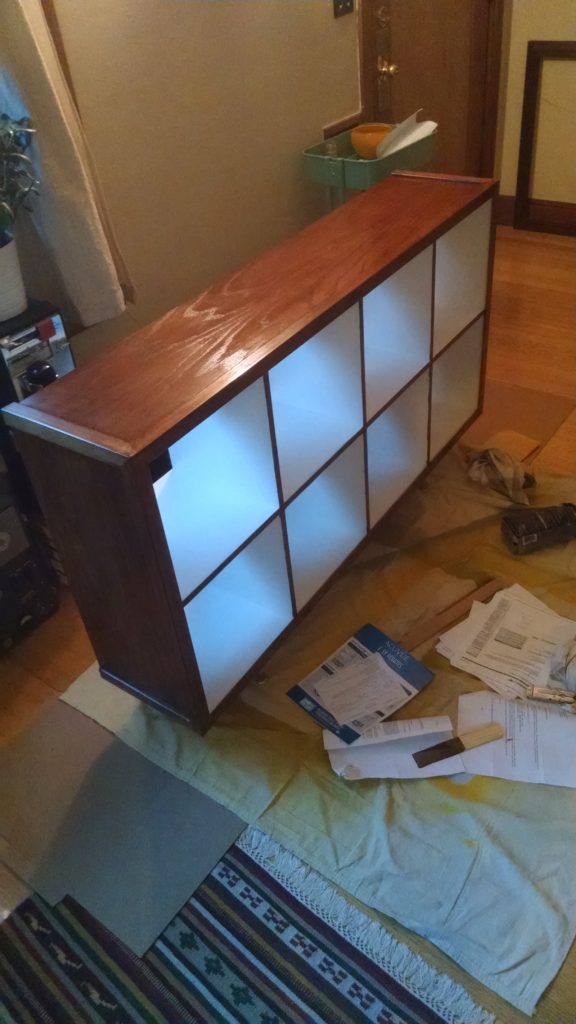
Despite all the mistakes, I was still really happy with the way this turned out: being my first foray into the art and misadventure of upcycling.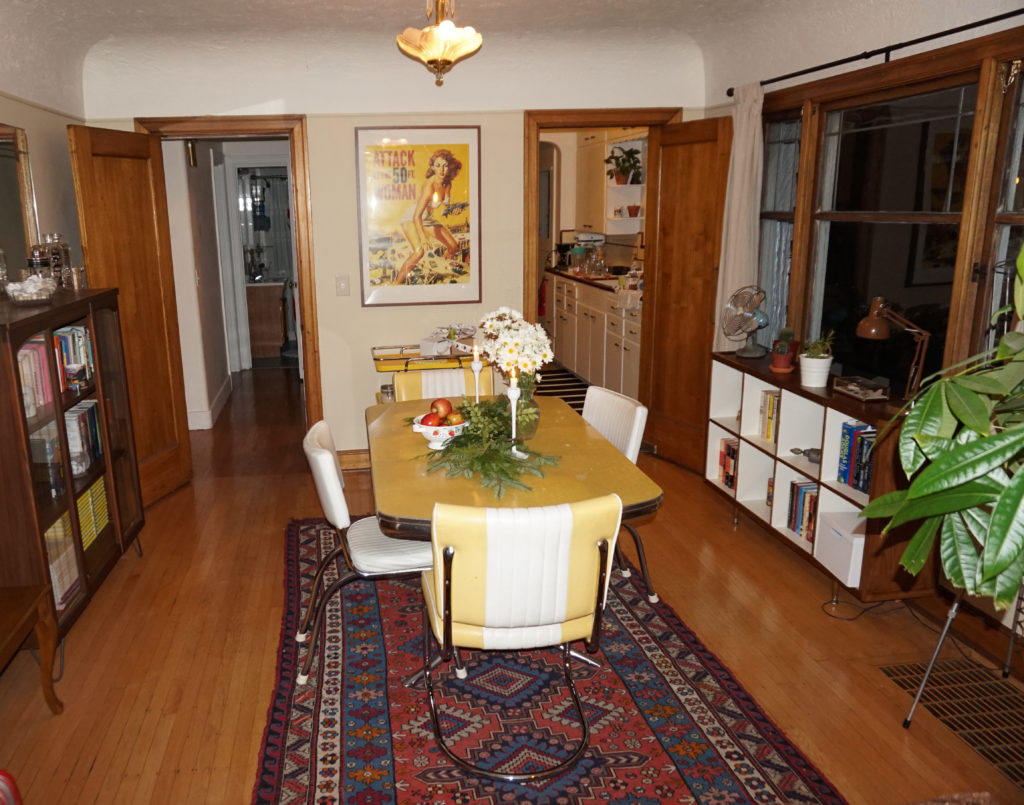
Not only did it transform the ubiquitous into the unique, but it fit wonderfully under the dining room window, providing needed storage space that fit well with the rest of our furniture.
Also, the cats loved it:

Supplies:

One thought on “IKEA Bitrade 2×4”
Comments are closed.